


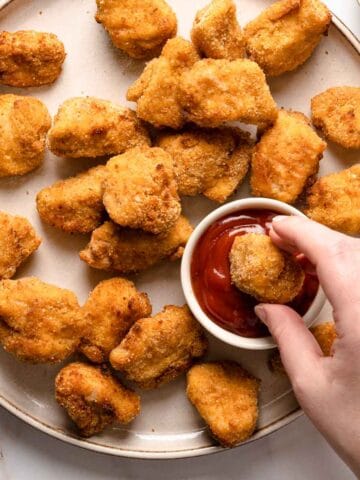
This panko baked chicken is super crispy and brown, making it a satisfying lunch or dinner option that will please the whole family! And, it's easy to make with only 7 basic ingredients.
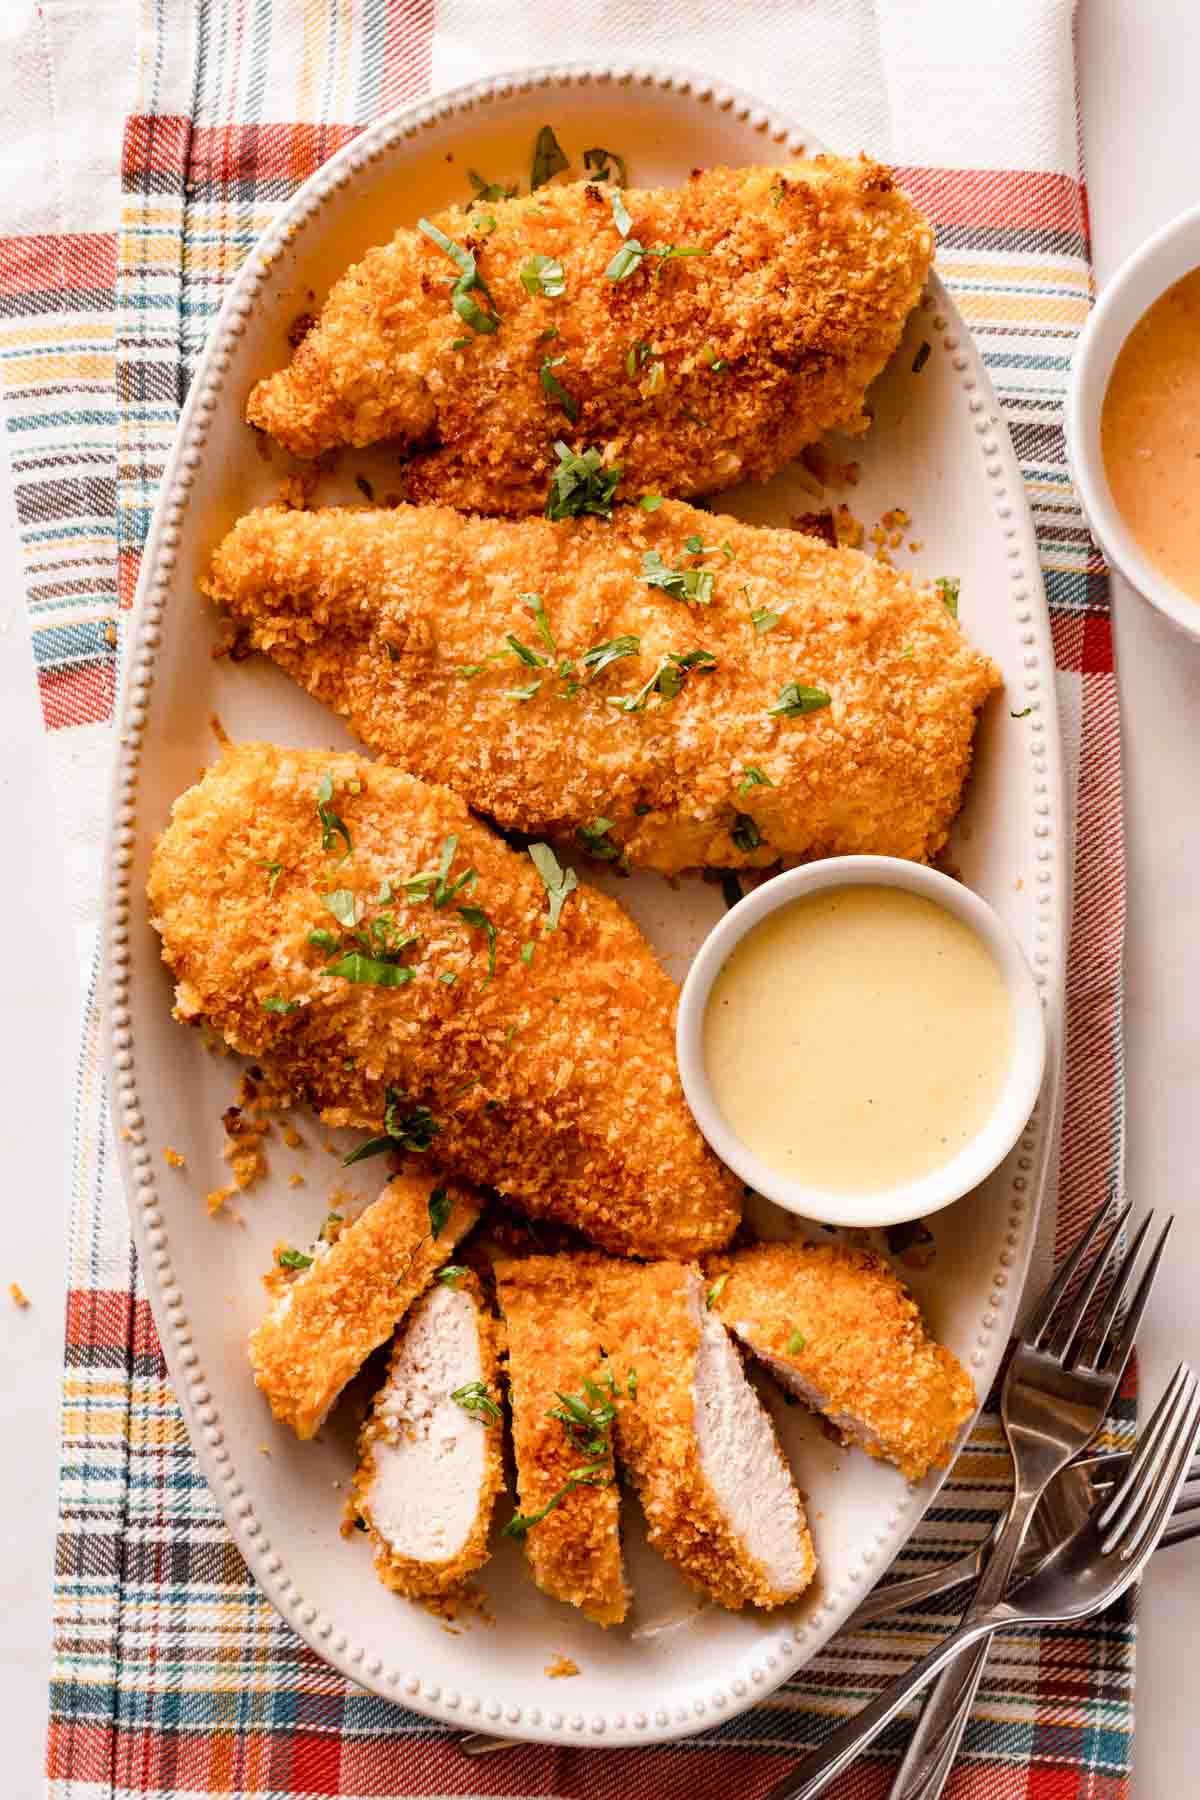
There is nothing more satisfying than biting into a juicy piece of chicken with a shatteringly crispy, crunchy coating. This easy recipe for panko baked chicken will give you that satisfying bite without having to deep fry anything!! And, you can make it all in only about 35 minutes, with 7 basic ingredients.
Another thing I like about this panko chicken recipe is that, rather than using a typical egg wash to dip the chicken in before breading, we are using a combo of mustard and mayonnaise. This gives that "special something" flavor-wise, that really enhances this otherwise simple dish. Plus, the added fat from the mayo helps keep the chicken moist!
Before we go on, I'll let you in on one of the secrets to getting deliciously crispy panko chicken: cooking it in high heat, using a wire baking rack. The high heat browns the panko nicely, while the baking rack elevates the chicken so the hot air can circulate and crisp the chicken all around. Read on for even more tips and tricks to get the perfectly crunchy panko baked chicken of your dreams!
But first, let's briefly discuss our star ingredient of the day, PANKO!
Jump to:
This post contains affiliate links. As an Amazon Associate I earn from qualifying purchases. If you make a purchase through the link, it won't cost you more but I may earn a small commission. I only recommend products that I personally use and love!
What is panko?
Panko is a unique type of breadcrumb originating from Japan. Panko is made from bread that has been baked using an electric current. This special baking method results in bread that has no crust! These crustless bread loaves are then ground to create crumbs that are larger, with a more irregular and jagged shape, than a traditional breadcrumb.
For more info, here is a great article on panko and how it's different from regular breadcrumbs.
Why use panko instead of regular breadcrumbs?
If you want to simulate the crispy, crunchy texture of fried foods, without having to actually deep fry anything, panko is the way to go! In addition to their larger size, panko also has a lighter, flakier texture. This helps the panko to crisp up in the oven much better than regular breadcrumbs.
Recipe ingredients

Ingredient notes
- Chicken breast: you will need boneless, skinless chicken breast for this recipe.
- Salt: I used Diamond Crystal kosher salt. But, you can substitute regular salt if you like - just use a little less than called for in the recipe.
- Mayo: you can use full-fat mayo (my preference), or low-fat if you prefer.
- Mustard: my go-to for this recipe is Dijon mustard, but you can use your favorite type of mustard. Very grainy mustards may not work quite as well, however.
Equipment needed
In addition to the above recipe ingredients to make the panko baked chicken, you will also need a few pieces of equipment:
1. Metal baking sheet: you will need a metal baking sheet that has a rim (as opposed to a flat cookie sheet). The rim will hold in place the wire baking rack, discussed next!
2. Oven-safe wire baking rack: this is not strictly necessary, but it really helps to crisp the chicken all around. This is because it elevates the food off the surface of the baking sheet, allowing the hot air to circulate around the chicken. I recommend these wire baking racks from Checkered Chef (affiliate link).
3. Instant-read or oven-safe alarm thermometer: although you can always cut open the chicken to check that it's cooked through, using a thermometer is a much easier way to ensure the chicken is done, without overcooking it.
I really like using an oven-safe alarm thermometer. This has a probe you can place in the chicken while it cooks, alerting you exactly when the target temperature is reached. This pretty much eliminates the risk of overcooking! I talk more about this type of thermometer in my Dutch oven chicken breast post.
Step by step photos
Here is a breakdown on how to make panko chicken, step by step:
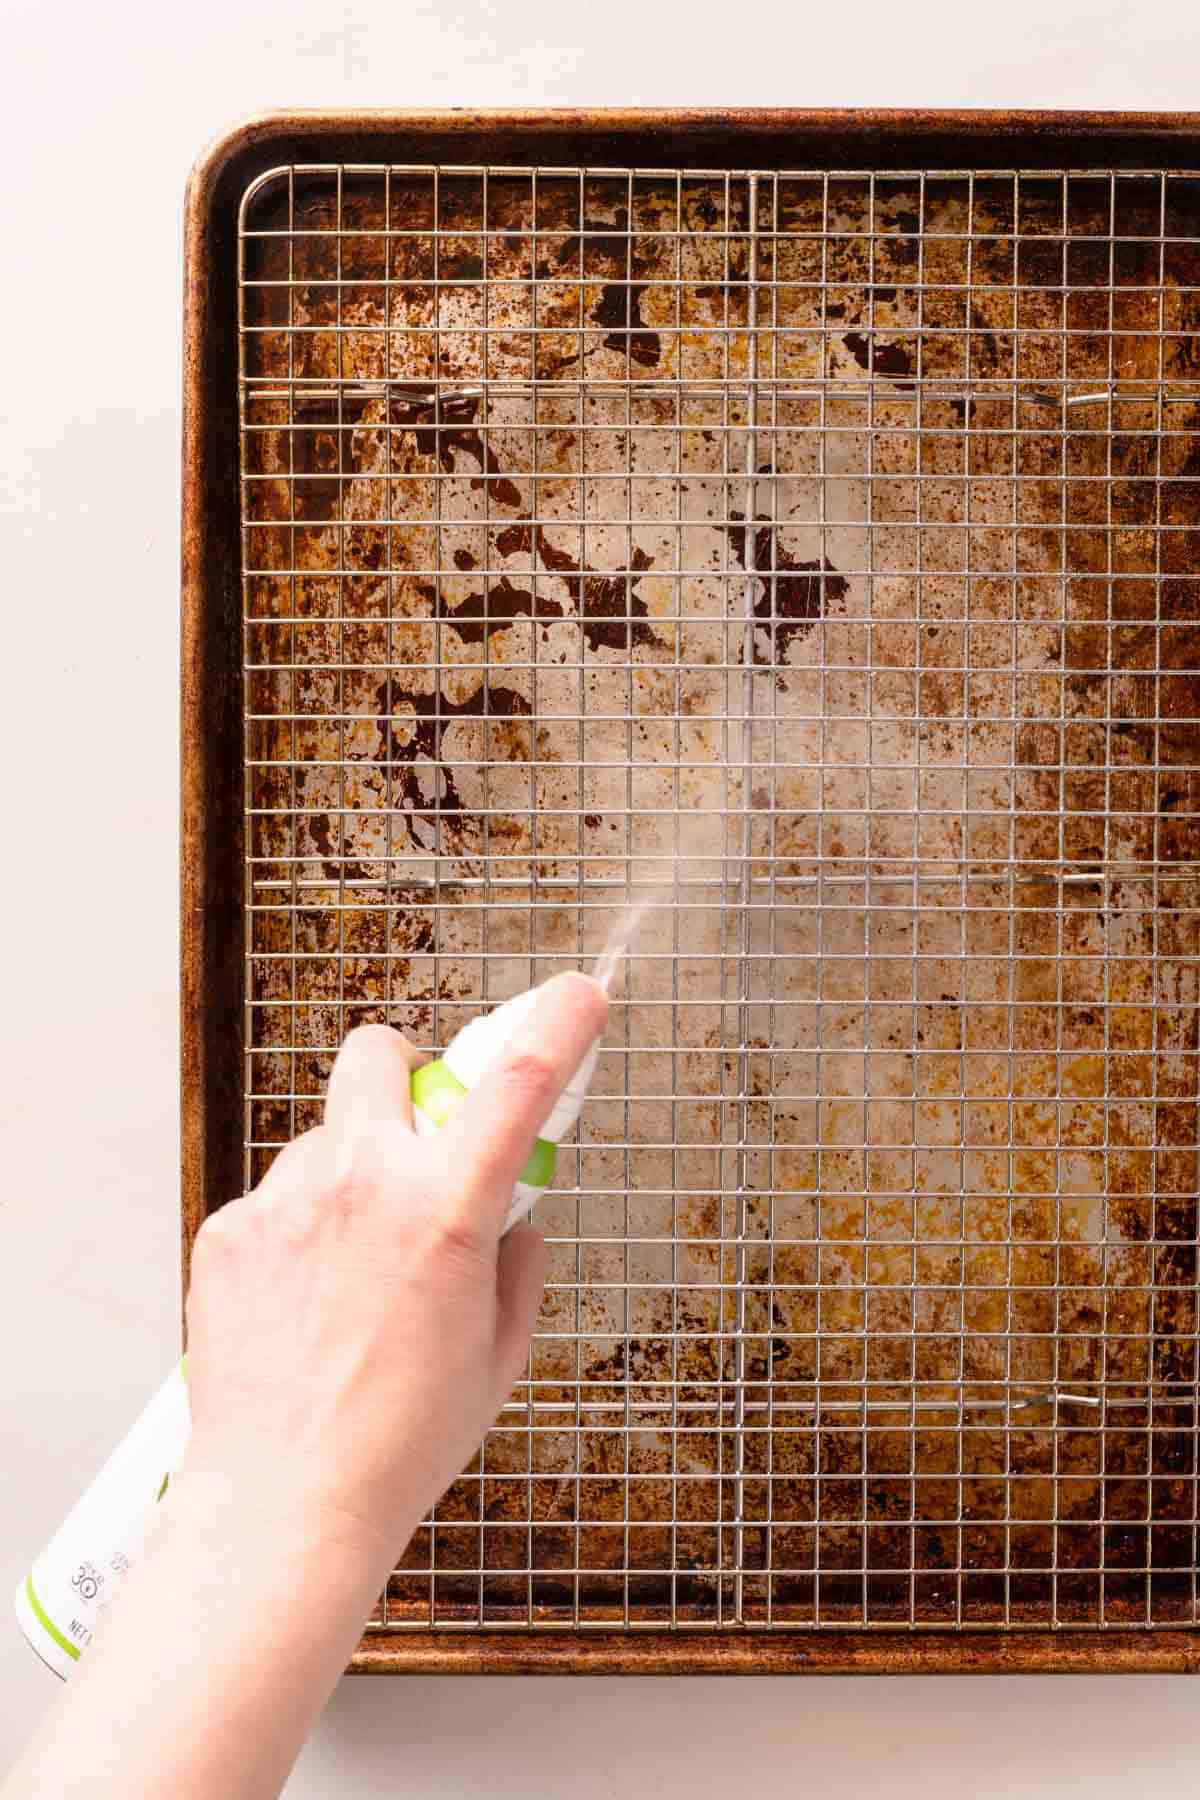
1. Before you do anything else, preheat the oven to 450 degrees F (230 degrees C). Then, grab an oven-safe wire rack and place it over a metal baking sheet. Spray the wire rack with cooking spray, then set the baking sheet aside for now.

2. Next, let's prep the chicken. If you see any bits of fat you would like to trim away, you can do that now. Then, make a horizontal cut through the center of each chicken breast, creating two thinner pieces of chicken.
Standard chicken breasts in the US are usually quite large and thick. Cutting them in half ensures the chicken will cook more quickly and evenly.


3. Now, season each piece of chicken, front and back, with salt to taste. Set the chicken aside for now.

4. Now let's turn to the breading ingredients. For the liquid part that helps the panko to stick to the chicken, we will be using a combo of mayo and mustard, rather than a standard egg wash.
For this step, just add the mayo, mustard, and some water to a shallow bowl. Whisk to combine.


5. And now we will make the panko mixture. All you need to do is add the panko, paprika, and kosher salt to another shallow bowl. Stir it around to evenly combine.


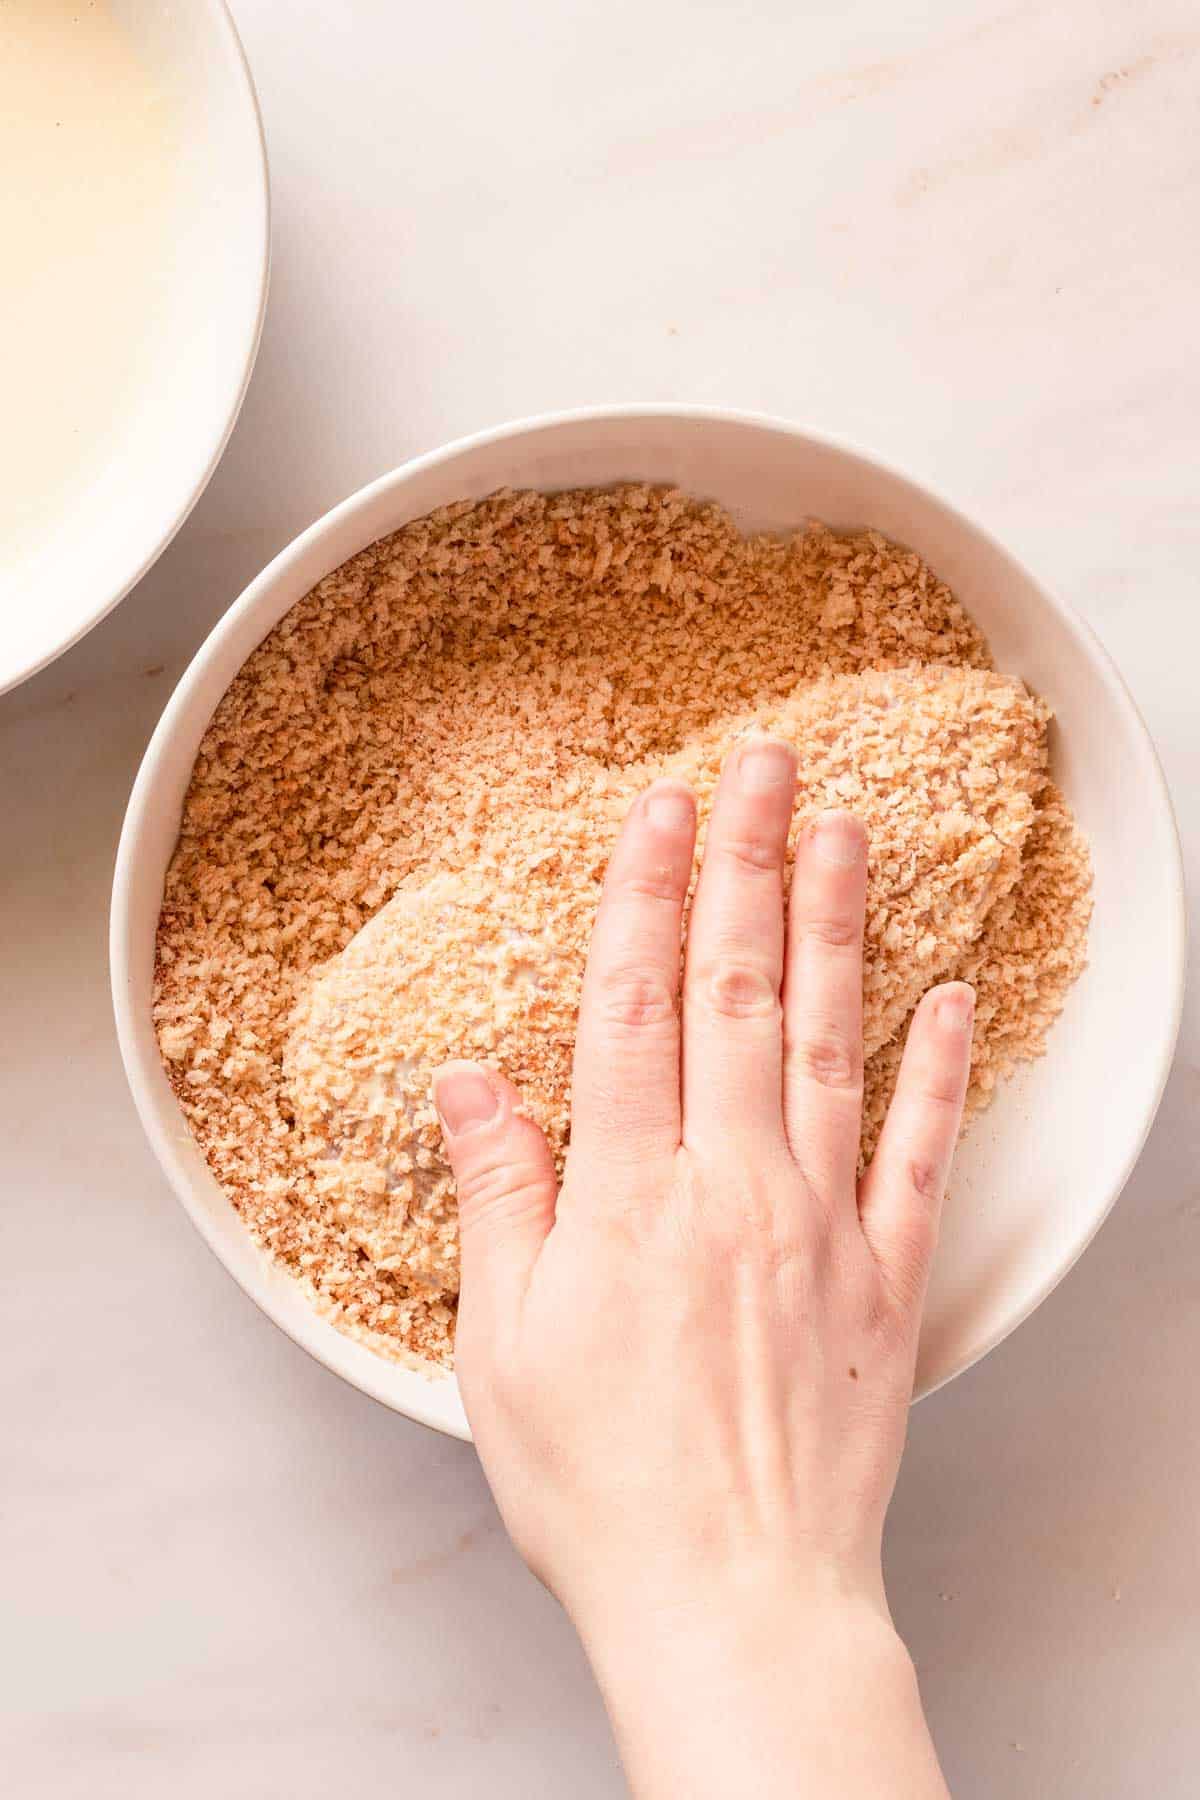
6. Now we are ready to bread the chicken. First, dip the chicken in the mayo/mustard mixture. Do both sides, and then let the excess drip off the chicken back into the bowl.


7. Place the chicken breast into the panko next. Before turning it over to do the other side, I like to scoop some of the panko around the sides. Then flip, and pat the panko into place to help the crumbs stick.


8. Move the piece of panko chicken onto the prepared baking sheet. Continue breading the rest of the chicken pieces. When they are all on the baking sheet, give the panko chicken pieces a generous coating of cooking spray.


9. Bake the panko chicken in the preheated oven, until the center of the chicken registers at 165 degrees F. To ensure even browning, rotate the tray, front to back, halfway through baking.

And that's how you make panko baked chicken, step by step! For full ingredient amounts and instructions, please see the recipe card at the bottom of this post.
Additions/substitutions
You can customize the ingredients and flavors of this panko baked chicken to suit your own tastes. Here are some ideas on how to mix it up a bit:
- Instead of boneless skinless chicken breasts, try using boneless skinless chicken thighs or tenders. The prep will be exactly the same. But, depending on the size of the pieces you are using, you will need to adjust the cook times up or down by a few minutes.
- In addition to sprinkling the chicken with salt, you can also add your own favorite spices or spice blends. Try lemon pepper, Old Bay, garlic powder, or cayenne pepper (for a little heat!). If the spice blend you are using already has salt, you can skip adding the salt separately.
- The paprika in the panko mixture really enhances the color of the chicken. But, it doesn't add too much flavor on its own. For more flavor, use smoked paprika instead!
Storage and reheating
Although the chicken will taste the most crispy and delicious when eaten fresh, you can save leftovers to reheat later.
Fridge storage and reheating instructions
- Leftovers will keep in the fridge for up to 3 - 4 days. You can store the chicken in the fridge in an airtight food storage container, or wrapped individually in plastic wrap or aluminum foil.
- To reheat chicken from the fridge, bake it in a preheated 400 degree F (200 degree C) oven for 12 - 15 minutes, or until heated through.
Freezer storage and reheating instructions
- If you want to keep the leftovers for longer than 3 - 4 days, you can store them in the freezer for 2 - 3 months. However, in my experience, the chicken was much less crispy when reheated from the freezer than the fridge, so only freeze the chicken if you're ok with that!
- To freeze, wrap each piece of chicken individually in a layer of plastic wrap. Then, follow that up with a layer of aluminum foil. This will help to keep the breading intact, and to keep freezer burn at bay for longer!
- To reheat chicken from the freezer, do not thaw in the fridge first. Bake it from frozen, in a preheated 400 degree F (200 degree C) oven for 21 - 23 minutes, or until heated through.
Tips and tricks
- As I explained in the Step by step photos section, we are cutting each chicken breast in half horizontally to create two even, thinner pieces. But, if your chicken breasts are small, as in, less than 1 inch (2.5 cm) thick, you can skip this step.
- For this recipe, I prefer cutting chicken breasts into two thinner pieces myself, instead of buying pre-sliced "thin-cut" chicken breasts. I think store-bought thin-cut chicken breasts can be too thin for this application - only ⅓ inch, give or take, depending on the brand. For my tastes, this doesn't leave enough juicy chicken in the center to contrast with the crispy panko coating!
- When making the mayo and mustard mixture to coat the chicken, don't skip adding the water! It may seem like having a thicker mayo coating would be more delicious, but it's actually better that the liquid is thin. This helps the panko coating adhere to the chicken better once cooked. It should be only a little thicker than the consistency of heavy whipping cream. I talk more about this in the Recipe FAQs section below!
Recipe FAQs
First of all, the flaky shape and light texture of panko lends itself to getting super crispy in the oven, so you are already one step ahead!
Next, make sure that when you dip the chicken in the mayo/mustard mixture (or whatever liquid you are using to get the panko to stick), that you let all the excess drip off. This is very important, because in testing this recipe, I realized that when there is too much liquid between the chicken and panko, the panko won't get as crispy and it also won't hold onto the chicken as well after it's baked.
In addition, we are baking the chicken at a hot oven temperature, which ensures the panko browns well. And, by using a wire rack to elevate the chicken, the hot air can circulate around the food better, helping to crisp the panko all around.
This panko chicken tastes the best when made fresh, but you can do some of the prep the day before, so you can assemble the dish much more quickly when it's time to cook.
First of all, you can easily whisk up the mayo/mustard mixture and keep it covered (in a jar or food storage container) in the fridge. You can also mix up the panko mixture and keep it at room temperature in an airtight container or zip top bag. Finally, you can trim and slice the chicken breasts in half, and keep them wrapped in the fridge until ready to use.
And, if you do have leftovers, I talk about the best ways to store and reheat them in the Storage and reheating section above.
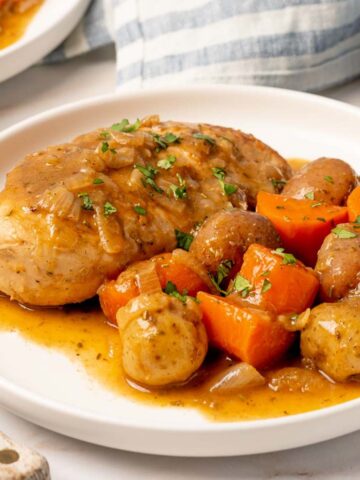
This crispy panko baked chicken goes well with a lot of different side dishes - try pairing it with a simple green salad or roasted vegetables, and a side of rice or bread. You can also use this chicken as as base for a sandwich, or, cut it into strips and place in a wrap, or on top of a salad!
If you're looking for more easy side dish recipes that would go well with this chicken, try my recipes for air fryer fingerling potatoes, roasted brussels sprouts and carrots, or honey orange glazed carrots.

Related recipes


If you've tried this recipe, please leave a star rating and/or review in the comments section below, I would love to hear from you! You can also follow me on Facebook, Instagram and Pinterest. And sign up for my weekly newsletter to get recipes delivered straight to you!
Print📖 Recipe
Panko Baked Chicken

This easy recipe for crispy and brown panko baked chicken can be made with only 7 basic ingredients!
- Prep Time: 10 minutes
- Rest time: 5 minutes
- Cook Time: 22 minutes
- Total Time: 37 minutes
- Yield: 4 servings 1x
- Category: entree, Main course
- Method: Bake
- Cuisine: American
Ingredients
- 20 ounces (567 g) boneless skinless chicken breast (about 2 - 3 chicken breasts)
- 1 ¼ cups (87 g) plain panko breadcrumbs
- ¼ cup (56 g) mayonnaise
- 2 tablespoons (29 g) Dijon mustard (or your favorite type)
- 2 tablespoons water
- 1 ½ teaspoons paprika
- 1 teaspoon kosher salt, plus more to season chicken (see note 1)
- cooking spray
Instructions
- Preheat the oven to 450 degrees F (230 degrees C).
- Place an oven-safe wire rack on top of a metal baking sheet (see note 2). Spray the wire rack with the cooking spray. Set aside.
- If necessary, trim any fat from the chicken breasts. With a large knife, slice each chicken breast in half horizontally, to create two thinner pieces of chicken. (If your chicken breasts are very small (under 1 inch / 2.5 cm thick) you can skip this step). Season each side of the chicken pieces with salt to taste. Set aside.
- In a shallow bowl, add the mayonnaise, mustard, and water. Whisk to combine.
- In a separate shallow bowl, add the panko, paprika, and 1 teaspoon kosher salt. Stir to combine.
- Dip one piece of chicken in the mayonnaise mixture, making sure it is coated on all sides. Pick the chicken piece up and allow the excess to drip off back into the bowl. Place the chicken into the bowl of panko, and flip it over to coat the other side. Press the panko onto the chicken to ensure it is evenly coated with crumbs all over. Place the breaded chicken onto the prepared wire rack/baking sheet.
- Repeat the breading process from step 6 on the remaining pieces of chicken.
- Generously spray the tops of the chicken pieces with the cooking spray. Place the baking sheet in the preheated oven and bake for 20 - 22 minutes, or until the center of the chicken reaches 165 degrees F on an instant-read thermometer. To ensure even browning, rotate the baking sheet front to back halfway through cooking.
- Allow the chicken to rest for 5 minutes before serving.
Notes
This recipe was developed using Diamond Crystal kosher salt. To substitute Morton kosher or regular table salt, use only ½ teaspoon in the panko mixture.
If you don't have a wire rack, you can cook the chicken directly on the metal baking sheet.
My pieces of chicken were about ¾ inch (1.9 cm) thick after slicing in half. Cook times will vary based on how thick your chicken pieces are and your own oven.
The nutrition information below was calculated to include 1 ½ teaspoons Diamond Crystal kosher salt, 5 seconds of cooking spray, and 2 tablespoons mayonnaise, as I always have about half leftover after dipping. This information is an estimate only, provided by an online nutrition calculator. The nutrition counts of your dish will vary based on the brand and exact amounts of ingredients used. This nutrition estimate should not be considered a substitute for professional medical, health, or nutritional advice. See our full disclosure policy.
Nutrition
- Serving Size: ¼ recipe
- Calories: 283
- Sugar: 0.7 g
- Sodium: 681 mg
- Fat: 8.7 g
- Saturated Fat: 1.5 g
- Carbohydrates: 17.1 g
- Fiber: 1.5 g
- Protein: 34.5 g
- Cholesterol: 85 mg


Karen McGuire says
I have been looking for a crunchy baked chicken recipe and this one is just right. I used boneless thighs and breasts, cut them into smaller pieces and pounded them so they wouldn’t be thick. The mayonnaise/mustard coating and the seasoned Panko crumbs were quick and easy to prepare. The result was crunchy, tender and flavorful chicken that my husband and I really enjoyed! Thank you, I will definitely make this again.
Kate says
Karen I'm so happy that you and your husband really enjoyed the panko chicken recipe! Thank you for sharing 🙂
Mary says
Made this tonight after working in the garden all day. Quick, easy and delicious. I love recipes that use ingredients I have on hand. We had our neighbor join us and she loved it too. This will be one I make often.
Kate says
That's wonderful Mary, I'm really glad that you and your neighbor enjoyed the chicken! I love having recipes on hand that use the stuff I already have at home too, it makes for a much less stressful dinnertime 🙂 Thanks for sharing Mary!
Addie says
Can these be done in an Air Fryer? I try to cook everything I can in my Air Fryer since there are just the two of us and it makes meals so much easier. Got any suggestions as to temperature? 400? (That is the highest my Air Fryer goes) and cook until the chicken reads 160-165 internally, turning halfway through the cook time? Finally, should I spritz the breaded chicken with oil before cooking? Do you think the results would equal the oven version in crispiness? Any suggestions would be much appreciated. Thank you. BTW, I just discovered your blog and LOVE your recipes. Your mug cakes are a definite must-make! 🙂
Kate says
Hi Addie thank you for your question! I think these could definitely be made in the air fryer, and I totally agree air fryers make prep so much easier (especially since my oven takes so much time to preheat!).
I haven't tested this exact recipe in the air fryer, but I do have an air fryer chicken nugget recipe that is similar, and for that one the cook time is 400 degrees for 8 - 10 minutes, flipping halfway through. Cutlets tend to be a little thinner than nuggets, so you may want to start checking at the 6 - 7 minute mark just to make sure they don't get overcooked, and using the thermometer to test for doneness as you suggest. And I would definitely spray with oil on the top before cooking, and then when you flip spray the other side. I bet it will be just as crispy as the oven, or even crispier!! If you end up making the recipe using the air fryer please let me know how it goes 🙂
And thank you so much for your nice words about my blog, you have 100% made my entire day!!
Addie says
Thank you for graciously replying to my questions so quickly and with such care. Replying to endless comments must be very time-consuming and, gosh knows, you ARE actually entitled to A LIFE, lol. I am definitely going to make these chicken breasts in my air fryer….your suggestions are helpful and spot on. Again, thank you for your help. Tomorrow I’m making that apple cinnamon mug cake for hubby’s afternoon snack. I have your blog bookmarked with a big red ❤️ next to it!
Kate says
You are so welcome! And your comment is so sweet Addie I appreciate it so much <3 I hope the chicken recipe works out well in the air fryer, and that your husband enjoys the mug cake 🙂 I really appreciate when anyone comments on my blog because it makes me feel good to know that people are making my recipes. If someone can make one of my recipes and enjoys it, or if it makes getting dinner on the table for them just a little bit easier, I feel like I am contributing something positive to the world. Best feeling ever!! Thanks again Addie for your support of my blog you are a real gem!
DeeDee says
Delicious. Simple ingredients that deliver. Love how this recipe let's the flavor of the chicken be the star of the dish and not a bunch of spices. Thanks for sharing.
Kate says
DeeDee your lovely comment made my entire day. Thank you so much for trying my recipe and providing your feedback, and I am so delighted that you enjoyed it!!
Barbara Youngs says
New family favorite! For us, I leave out the salt. Tender, tasty and quick.
Kate says
Aw I am so glad Barbara that you and your family enjoyed the chicken recipe, thanks so much for taking the time to comment!
Anonymous says