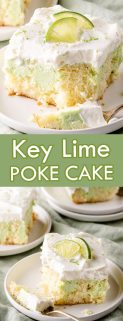
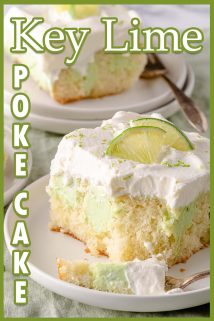
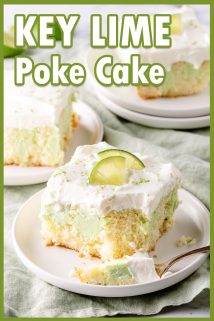
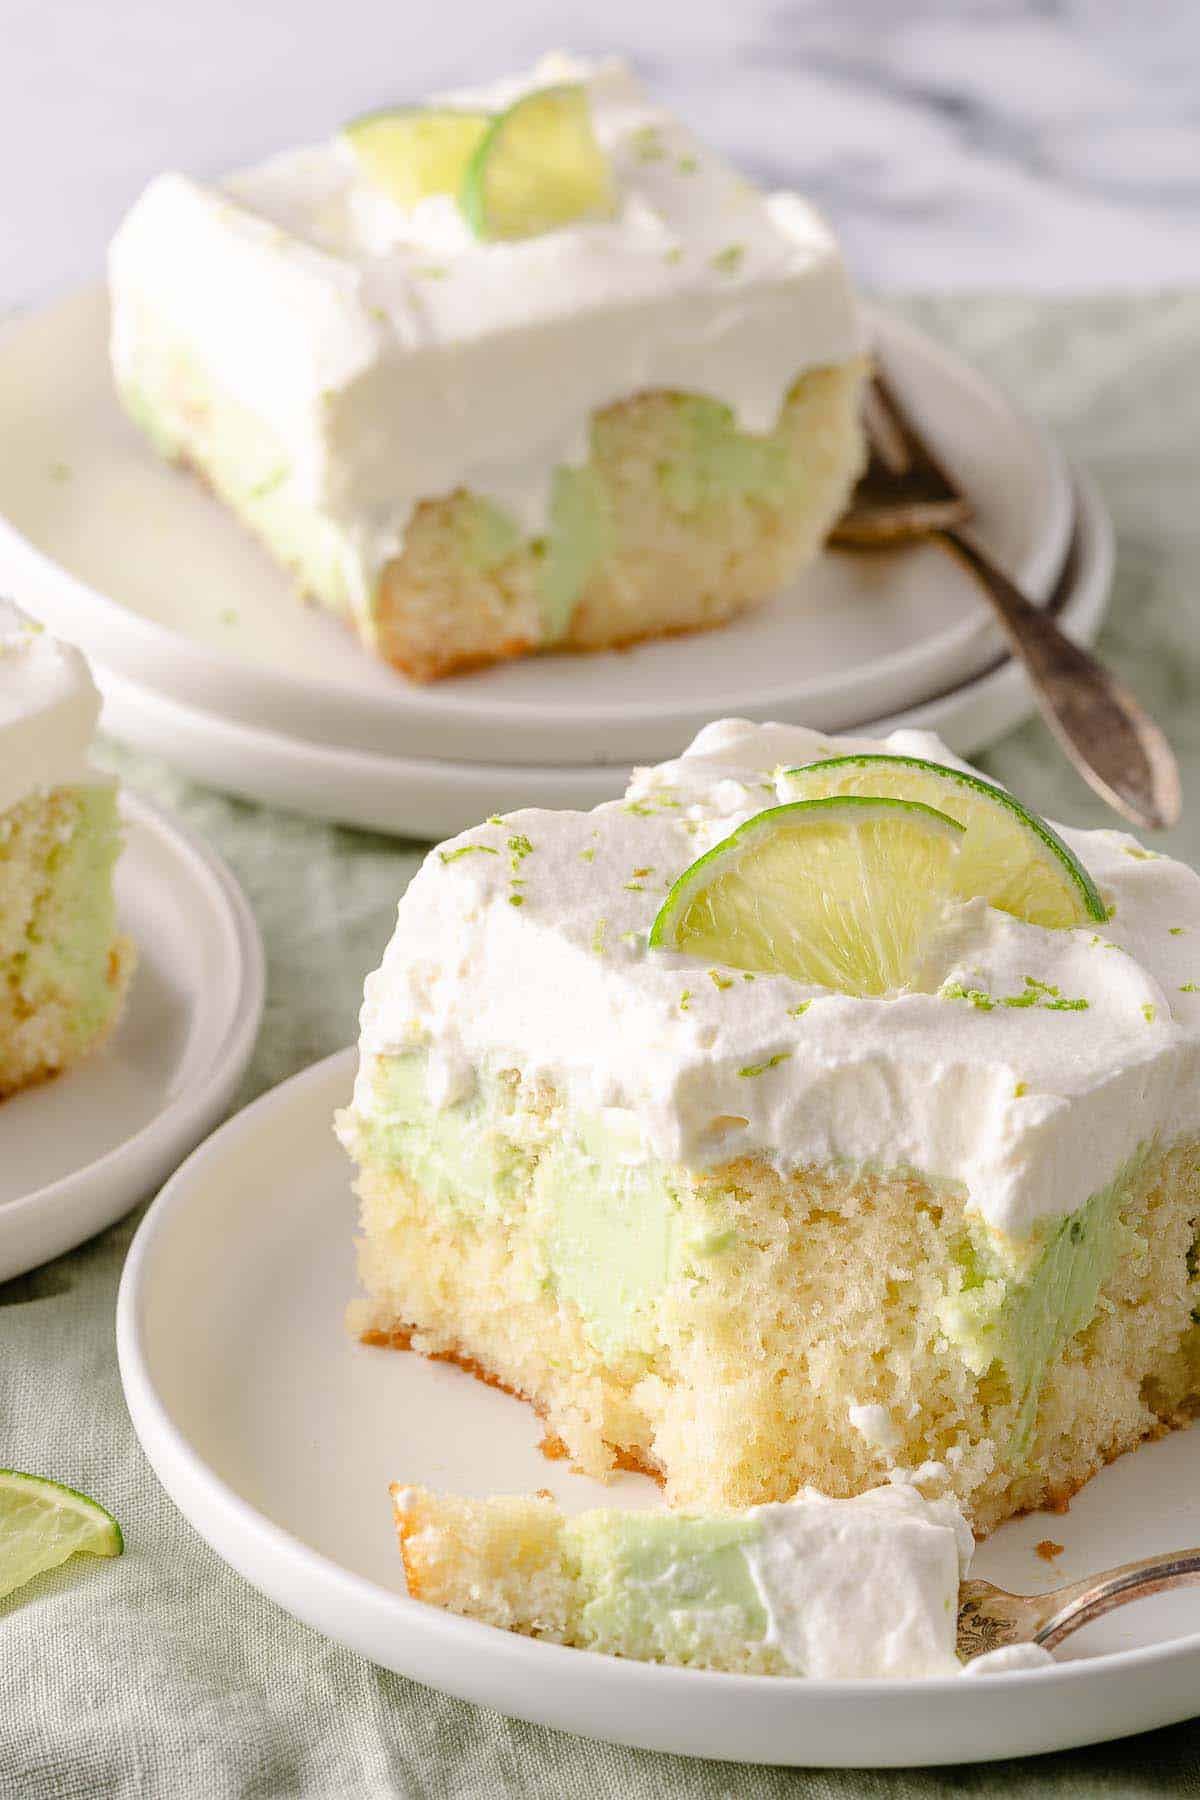
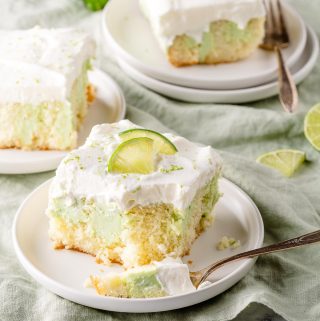
Boxed cake mix is given a tangy twist with a creamy Key lime filling. This easy Key lime poke cake is light and refreshing, the perfect dessert for spring or summer. And, you can even color the filling green for a fun St. Patrick's Day treat!

Note: This recipe was originally published in 2020 and updated in 2021 with improved photos and additional tips!
I absolutely love all things sour and tangy, so of course Key lime pie is one of my favorite desserts. This Key Lime Poke Cake is sort of a hybrid between Key lime pie and cake - a mashup of two amazing desserts!
I adapted this recipe from a Betty Crocker recipe, and turned the tartness and lime flavor up to suit my love of all things sour! Don't get me wrong, this cake is still plenty sweet, and it's topped with fluffy, lightly sweetened whipped cream that helps to balance the tartness of the cake.
Here are all the reasons why you NEED this dessert in your life:
- It uses boxed cake mix so it's super easy to make.
- But, the Key lime filling and homemade whipped cream elevate the cake into something unique and special!
- Since the cake is baked in a 9 x 13 inch pan, it travels well (versus a regular layer cake).
- This cake is versatile and delicious for all seasons! The lime flavors make for a great spring or summer treat; you can even use food coloring to dye the Key lime filling green for St. Patrick's Day. And, since you can use bottled key lime juice and regular limes, you can still get your Key lime fix even in the dead of winter!
This post contains affiliate links. As an Amazon Associate I earn from qualifying purchases. If you make a purchase through the link, it won't cost you more but I may earn a small commission. I only recommend products that I personally use and love!
Ingredients

Ingredient notes
- Boxed white cake mix: don't forget you will also need all the ingredients listed on the box to make the cake. I used whole eggs in my mix rather than just whites, so my final cake came out a little yellow. If you want a pure white cake, use only egg whites!
- Key lime juice: I wanted this recipe to be as accessible as possible for all seasons and locations, so I used bottled Key lime juice. And in my opinion, it gives the filling that classic diner Key lime pie flavor (which I love!). If you have fresh Key limes and want to make your own juice though, go for it!
- Limes: I used regular limes for the lime zest. The recipe calls for 2 teaspoons lime zest, or about 1 - 1 ½ limes. If you've got Key limes, go ahead and use those for the zest also!
- Food coloring: this is totally optional but I do like using it, I think it helps the filling stand out more from the cake and it just is kind of fun!
Step by step photos
Pre-step: bake the white cake according to the instructions on the box, using a 9 x 13 inch pan. Allow to cool for at least 5 - 10 minutes.
1. With the handle of a wooden spoon, poke holes in the cake about 1 inch apart (see the tips and tricks section for some additional tips on poking the holes!).

2. Then, whisk up the Key lime filling, with or without the optional food coloring.
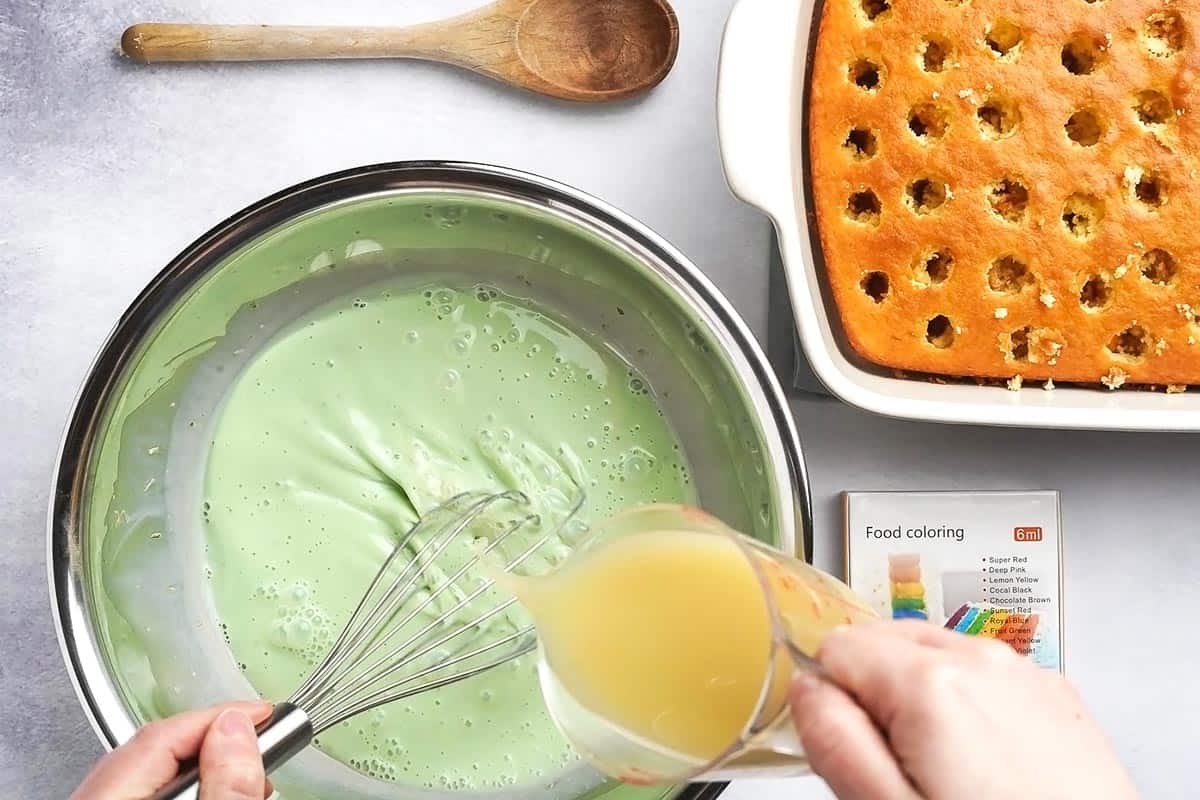
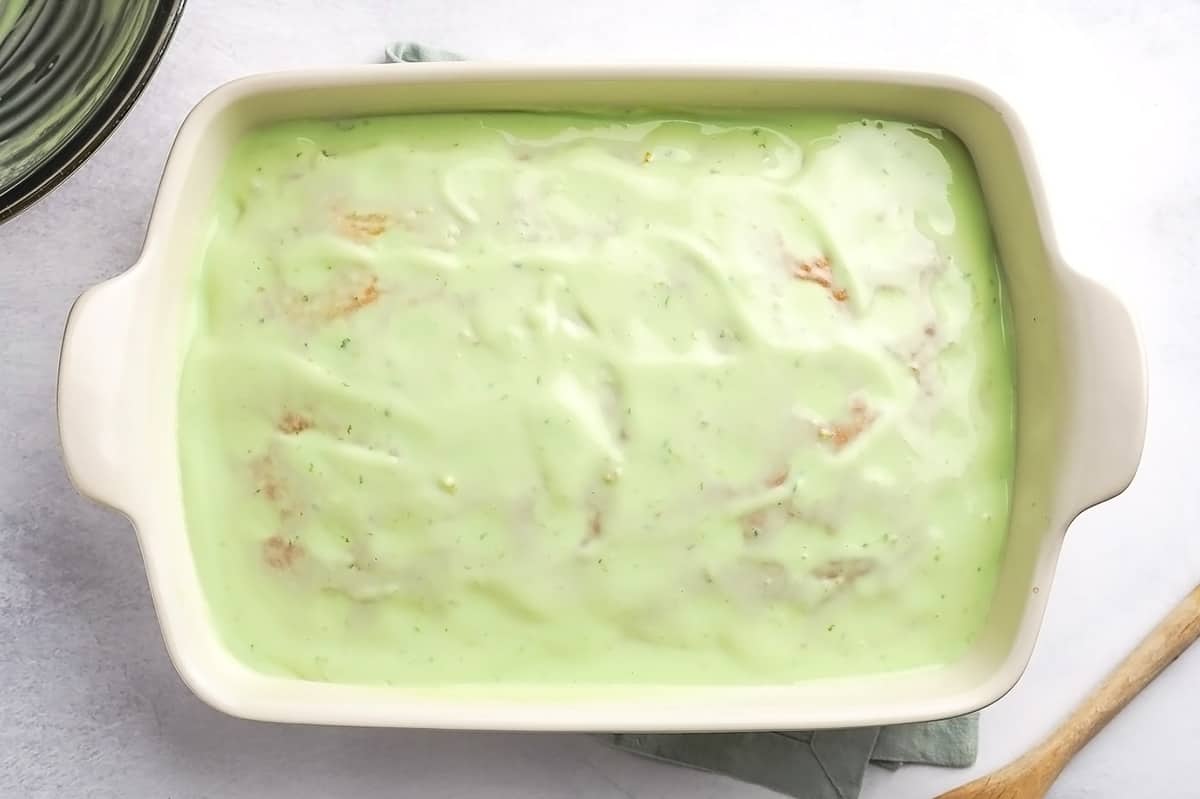
3. Pour the filling onto the cake and spread it across the surface so it fills all the holes and the sides of the cake.

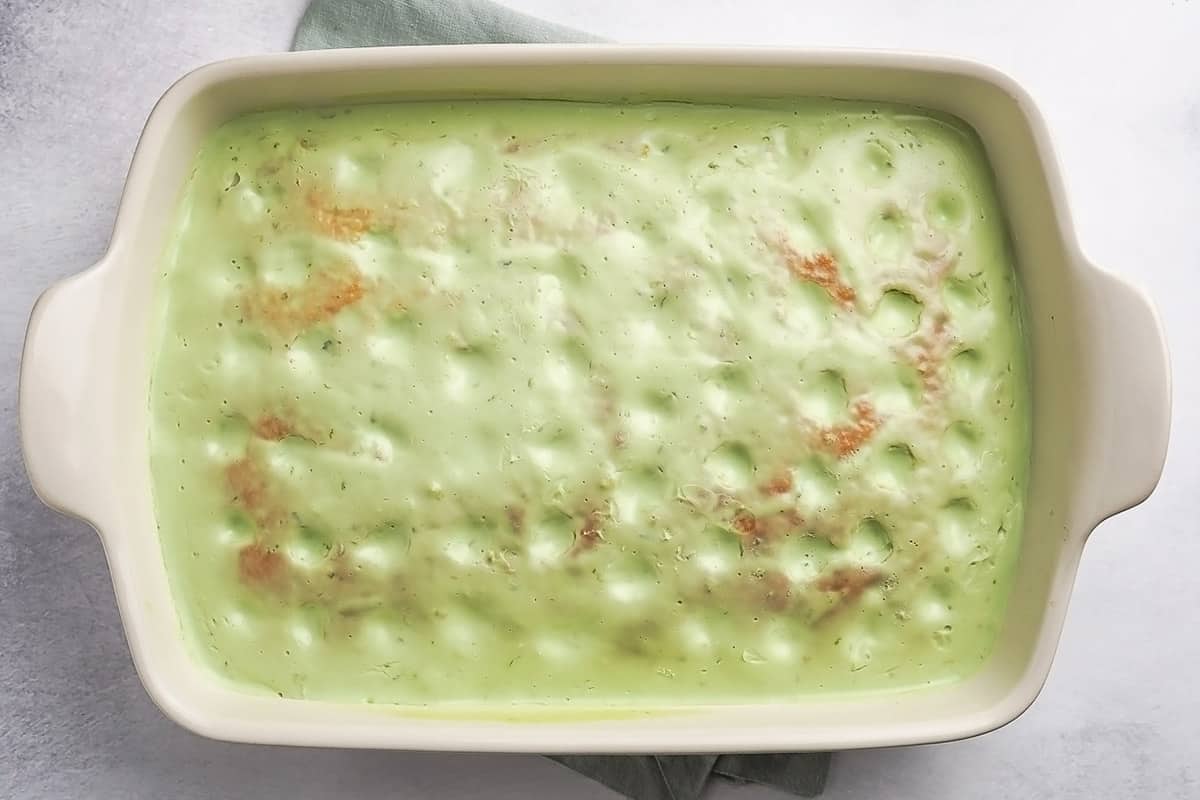
4. Loosely cover the cake and place it in the fridge for at least 2 hours, or up to 24 hours. The cake is ready when the filling no longer looks wet on the surface. So, it will go from this:
To this!
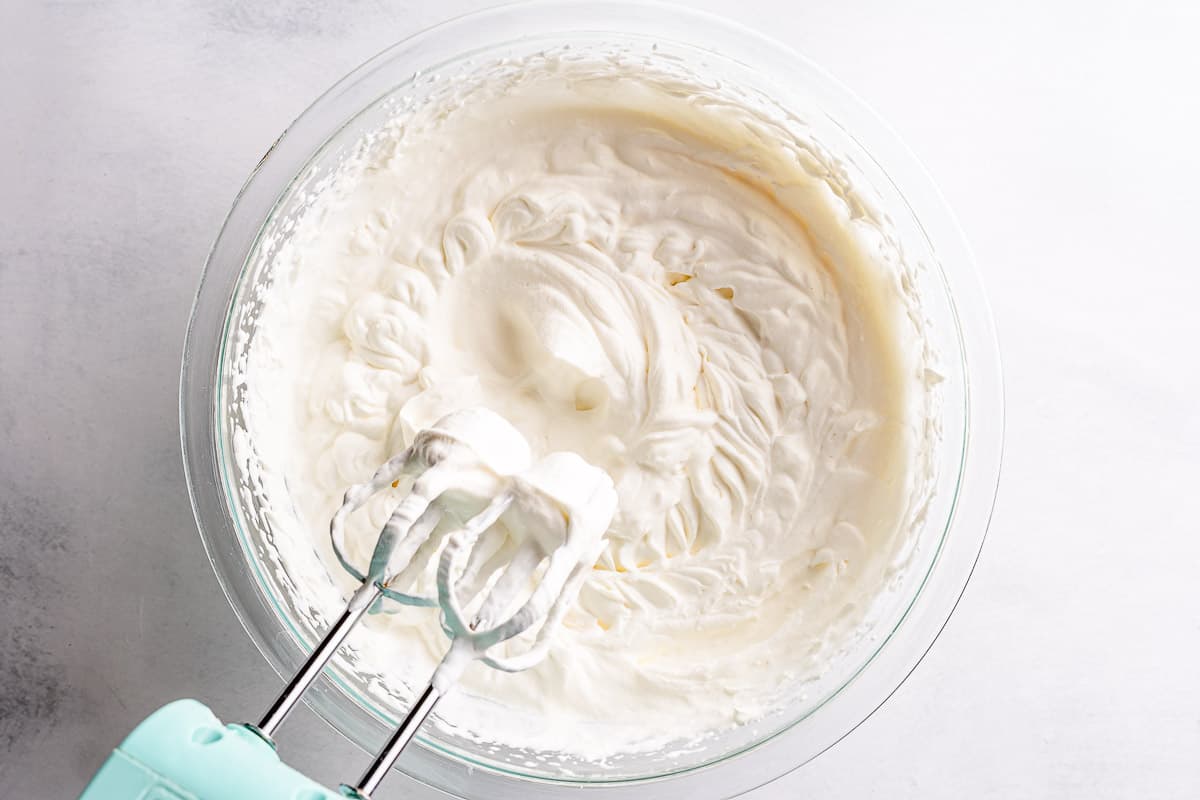
5. When you are ready to serve the cake, whip up the heavy cream and sugar until stiff peaks form.
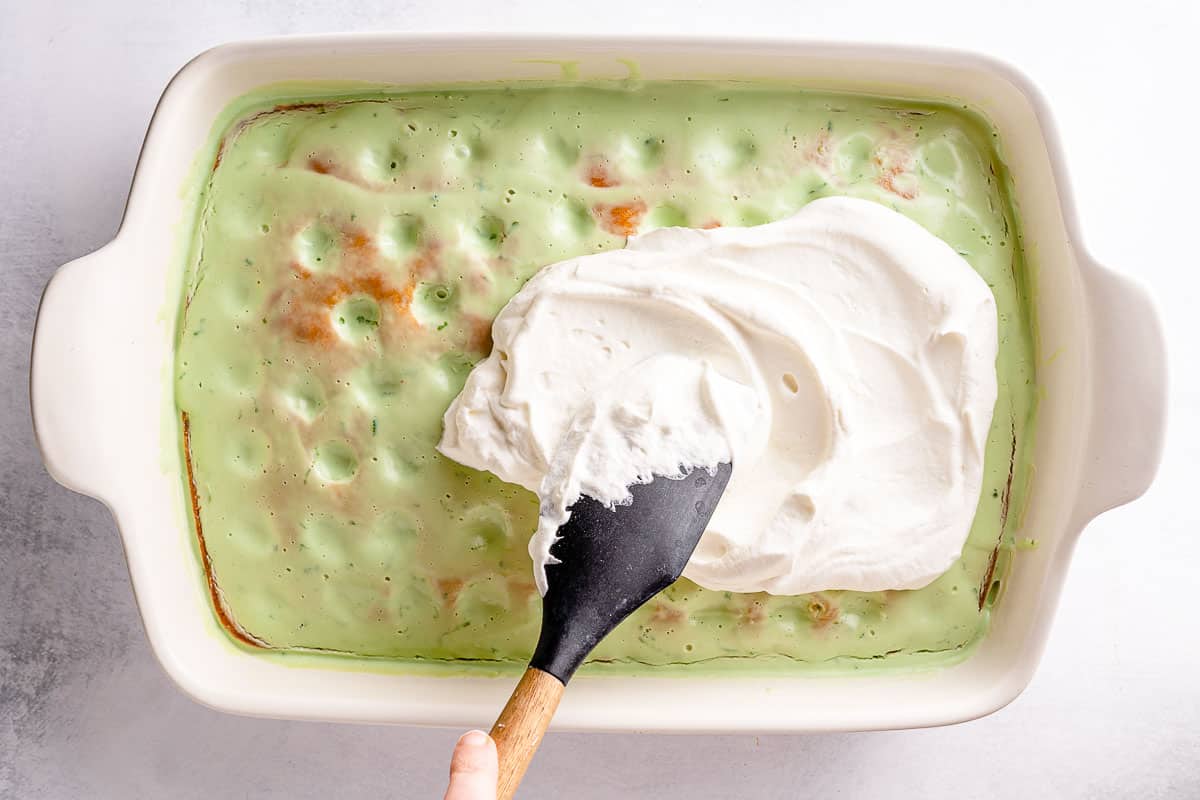
6. Then, spread the whipped cream onto the cake, garish with lime slices and zest if you like, and enjoy!
Tips and tricks
Tips on poking holes in the cake
1. Use a large diameter wooden spoon handle
Using a large diameter tool to poke the holes is very important! If you use something smaller in diameter like a skewer, the filling won't be able to penetrate the cake and will mostly sit on top. You want to make sure enough of the Key lime flavor gets into the cake! This also helps the cake stay super moist. I used the handle of a wooden spoon that was about ½ inch in diameter.
2. Make deep holes (and twist!)
Also, when making the holes, push the handle all the way down into the bottom of the cake, and give the wooden spoon handle a bit of a twist before pulling it out of the cake. This will ensure the holes are made all the way down and will reduce the amount of loose crumbs created.
Don't worry about filling leaking through the bottom of the cake; the filling is quite thick so I found that even when I poked the holes all the way down, the filling still didn't make it all the way to the bottom. So, the deeper the holes, the more filling in the cake!
Other helpful tips
Make sure the filling is set before adding the whipped cream
After you spread the Key lime filling on the cake, you will need to let the filling set up in the fridge for about 2 hours, loosely covered. I say loosely covered because having a bit of air circulating helps the filling set up as some of the moisture evaporates from the surface. You can also let it stay in the fridge for up to one day before frosting!
Allowing the cake to hang out in the fridge for awhile allows the filling to sink deeper into the cake, and it will also be easier to frost since the top won't be super wet. If you touch your finger lightly to the surface of the cake and it feels slightly tacky, rather than sticky and wet, then you are good to go and can add the whipped cream.
Use a Microplane or fine grater to create the zest
I really enjoy using a Microplane (affiliate link) to make the zest for this poke cake recipe. The Microplane creates really fine zest that I think works better in the filling, as opposed to bigger strings that you get with a traditional zester. And, it creates mountains of zest incredibly easily and quickly. If you don't have a Microplane, you can also use the fine side of a box grater.
Recipe FAQs
If you don't like or can't get Key lime juice (either fresh or in a bottle), you can definitely substitute regular lime juice 1:1 in this recipe. The flavor isn't exactly the same but it will still taste delicious!
The food coloring is totally optional, but if you want to use it, the amount you should use will vary based on the brand you have and your personal preference.
If you want to create the lime green color I have here, you will need both green and yellow. I used 5 drops yellow and 3 green, but again, your results may vary based on the brand you are using. I recommend starting with only a drop or two and adding more gradually until you achieve the look you are going for.
You can make the white cake ahead of time and keep it tightly covered on the counter, for 2 - 3 days. I found that the Key lime filling sinks in better when the cake is slightly warm, so if you make the cake ahead of time, place it in the oven on the warm setting for 5 - 10 minutes before poking the holes and adding the filling. Be sure to check the temperature of the cake before adding the filling, however. You are going for only slightly warm, not hot!
And once you add the filling, you will need to keep the cake in the fridge for a couple hours, or up to 24 hours. Once you add the whipped cream filling and garnishes, however, it's best to serve it immediately. The finished cake will keep in the fridge, tightly covered, for 1 - 2 days, but it looks the prettiest on the first day!
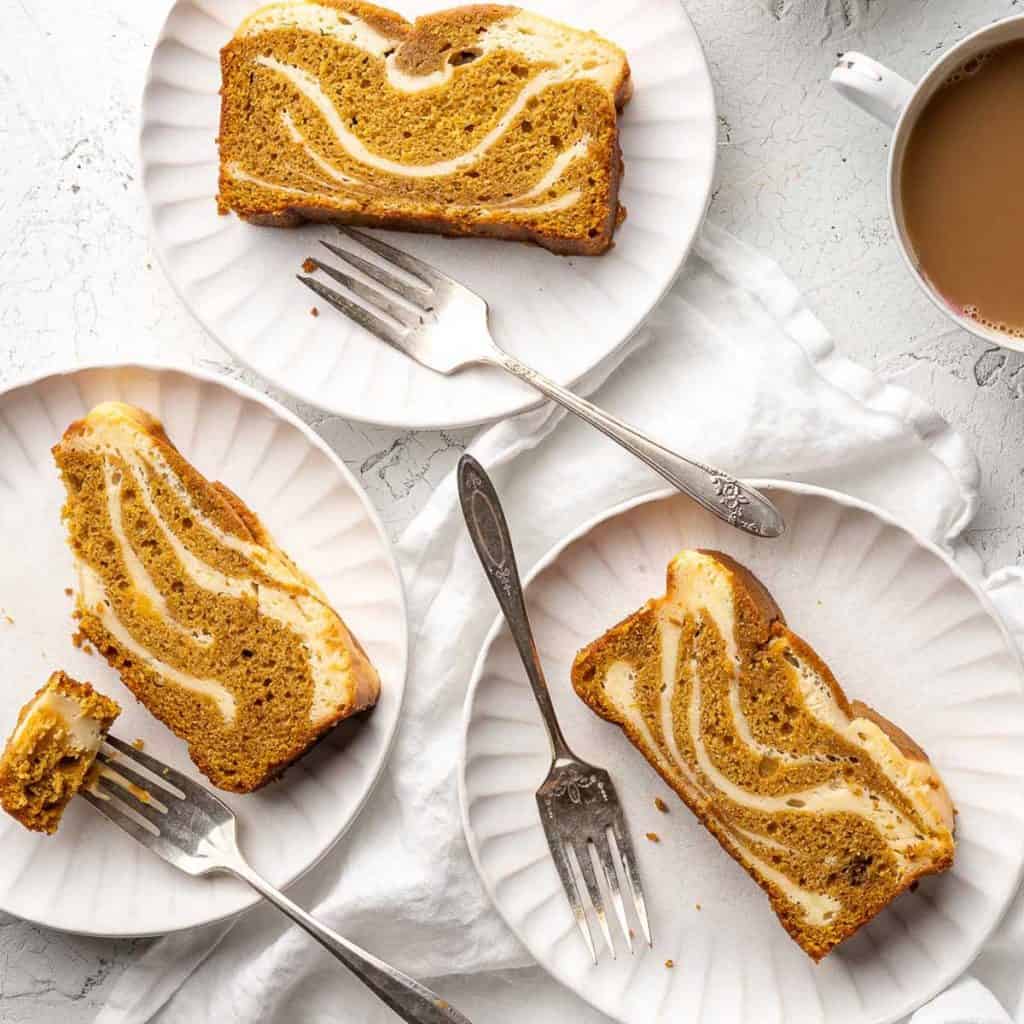
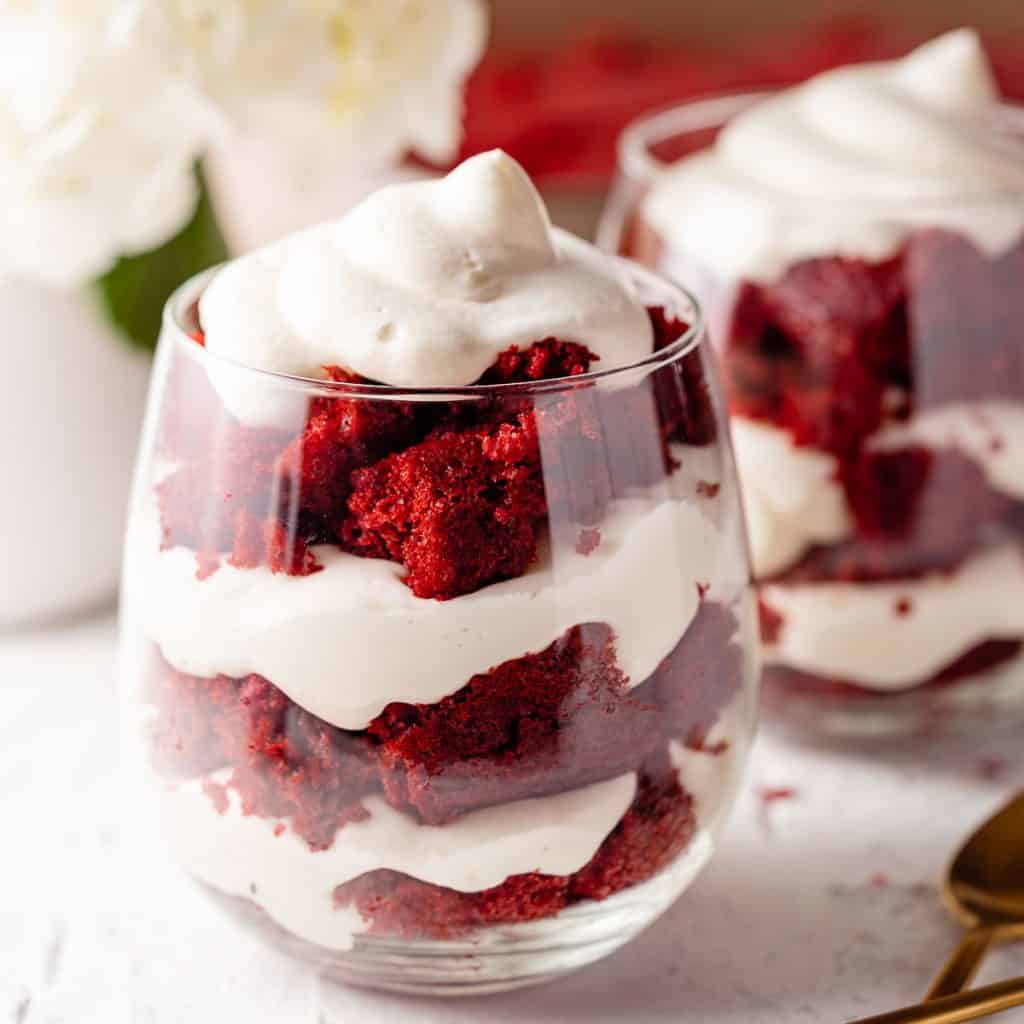
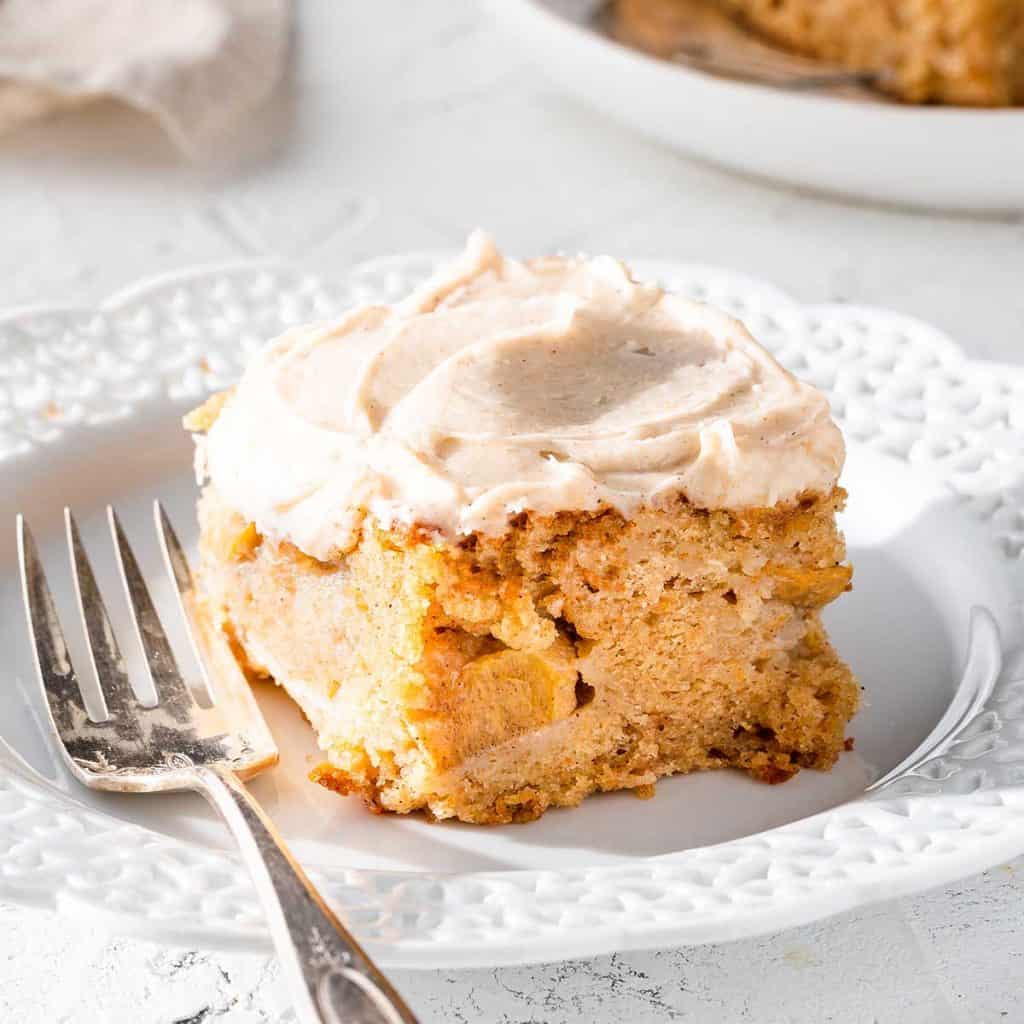
Related recipes
If you've tried this recipe, please leave a star rating and/or review in the comments section below, I would love to hear from you! You can also follow me on Facebook, Instagram and Pinterest. And sign up for my weekly newsletter to get recipes delivered straight to you!
Print📖 Recipe
Key Lime Poke Cake
An intensely tangy and luscious dessert that's super easy to make! White boxed cake is filled with tart Key lime filling and topped with whipped cream.
- Prep Time: 15 minutes
- Cook Time: 30 minutes
- Total Time: 2 hours 45 minutes
- Yield: 12 - 15 servings 1x
- Category: dessert
- Method: bake
- Cuisine: American
Ingredients
- 1 box white cake mix, plus ingredients listed on the box
- one 14 ounce can sweetened condensed milk
- one 12 ounce can evaporated milk
- ⅔ cup Key lime juice (bottled or fresh)
- yellow and green food coloring (optional, see note)
- 2 teaspoons lime zest, plus more for garnish
- 2 cups heavy whipping cream
- 2 tablespoons granulated sugar
- slices of lime (for garnish, optional)
Instructions
1. Prepare the white cake in a 9 x 13 inch pan, as directed on the box. Let cool for 5 - 10 minutes (for make ahead instructions, see note 1).
2. Using the handle of a wooden spoon that's approximately ½ inch in diameter, poke holes in the cake about 1 inch apart. (The large diameter holes are important - if the holes are too small the filling won't penetrate the cake and will just sit on top.) Also, make sure to poke the handle all the way down to the bottom of the cake and twist before pulling back up.
3. In a medium bowl, whisk together the sweetened condensed milk, evaporated milk and lime zest. Add the Key lime juice and optional food coloring, whisk to combine. The mixture will thicken immediately after the lime juice is added; don't worry, this is normal!
4. Immediately pour the Key lime filling over the cake and, using a rubber spatula, spread the filling across the surface and down around the sides of the cake, making sure all the holes are filled.
5. Loosely cover the cake with tin foil or plastic wrap and place in the refrigerator for 2 hours or up to 1 day. During this time, the filling will further soak into the cake and firm up. Once the filling has firmed up and is no longer wet on the surface of the cake, the whipped cream topping can be applied.
6. To make the whipped cream topping, add the heavy whipping cream and granulated sugar to a large bowl or the bowl of a stand mixer. Beat with hand beaters or the whip attachment of the stand mixer until whipped cream has formed stiff peaks (about 3 - 4 minutes on high speed).
7. Spread the whipped cream on the cake. Serve immediately, garnished with additional lime zest and slices of lime (optional).
Notes
- You can make the white cake 2 - 3 days ahead of time and keep it tightly covered at room temperature. When you are ready to prepare the cake, first place it in the oven on the warm setting for 5 - 10 minutes before poking the holes and adding the filling. Make sure the cake is only slightly warm, not hot, before adding the filling.
- To get the green color you see in the blog photos, I used 5 drops yellow food coloring and 3 drops green. For a more "natural" look, reduce the amount of food coloring. And, it's important to note that different brands of food coloring can have different results, so start small and add more if needed. Or, leave the food coloring out all together, the choice is yours!
- The cook time listed for the cake is an approximation to give an idea of how long the entire recipe will take to make start to finish. To bake the cake, please follow the directions on the box!
- Recipe adapted from Betty Crocker.


Kathy says
Looks perfect for a Spring Day
Kate says
Thank you yes I totally agree, I love light desserts like this for spring! 🙂
Fran says
I did this for Father's Day, and it was a hit. I did my whipped cream with less sugar because I used the tip of adding 1 T. of instant pudding per cup of cream to help the cream not "weep." I used evaporated skim milk in the lime layer and felt it was fine. Trying to cut even a little sugar or fat anywhere I can as long as results are high quality!
Kate says
Thank you for your feedback Fran, I am really happy that this dessert was a hit for Father's Day! I'm going to try your tip of adding in the instant pudding it sounds like a great idea!
Alison Poffenbarger says
Loved this for St. Patrick's Day! It was a big hit. I used powdered sugar instead of granulated sugar for the whipped cream.
Kate says
Thank you Alison for your feedback on the recipe! I'm so glad that everyone enjoyed the cake. And glad to hear the tip about the powdered sugar, in case anyone else wants to try that as well. Happy St. Patrick's Day!