


These vanilla brownies are tender and chewy, with a rich vanilla flavor that's complemented by a layer of vanilla icing! These sweet vanilla treats are just the thing when you want to mix it up and try something different from your typical chocolate brownie!

I don't know anyone who doesn't love a rich, dense, intensely chocolate-y brownie. But, sometimes you want to switch it up and show some love for the more delicate and refined flavor of vanilla!
When you're in a vanilla kind of mood, these beautiful vanilla brownies will surely suit your fancy! In my opinion, these brownies hit that perfect intersection between fudgy and cakey, with the perfect amount of chewiness that feels satisfying when you take a bite.
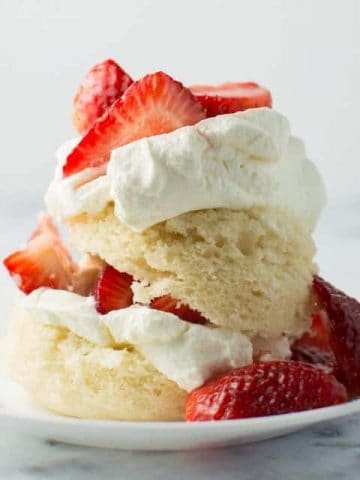
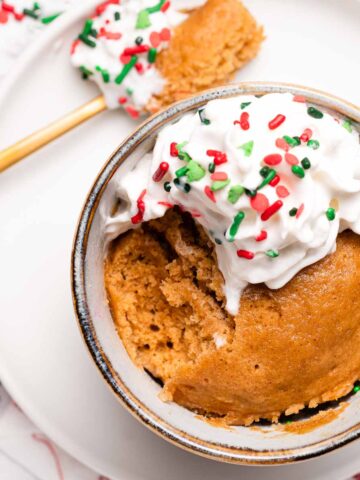
Want to get your dessert fix even faster? Try my recipes for Honey Peanut Butter Banana Mug Cake or Strawberry Shortcake Mug Cake!
This post contains affiliate links. As an Amazon Associate I earn from qualifying purchases. If you make a purchase through the link, it won't cost you more but I may earn a small commission. I only recommend products that I personally use and love!
Recipe ingredients

Ingredient notes
- Brown sugar: feel free to use either light or dark brown sugar, both will work well in this recipe.
- Vanilla bean paste: I like using vanilla bean paste because it gives those beautiful vanilla bean flecks that you can see in the brownie and the frosting, and I think it has a very potent vanilla flavor. The kind I used is from Nielsen-Massey (affiliate link). But, you can easily substitute vanilla extract and it will work well, no problem!
- Eggs: make sure you use large eggs; I haphazardly threw in one jumbo egg (with a double yolk no less!) when testing the recipe and it turned out more cakey that I would prefer. Not a big deal, but just worth a mention!
Step by step photos
1. First, preheat the oven to 350 degrees F. After that, you will melt the butter and white chocolate chips in the microwave. I recommend doing this gradually, using 50% power and 30 second increments, stirring in between. (I overheated the chips once when using full power and I got a curdled mess!)

2. Before you add anything to the chocolate mixture, you will need to let it sit for a couple minutes to cool down. This is the perfect time to grease your 9 x 9 inch pan with butter, and line it with parchment paper if you would like (and grease the parchment too!). I talk more about why you may want to line it in the Tips and Tricks section below.

3. Next, mix in the granulated and brown sugars.

4. Then, add in the room temperature eggs, one at a time, mixing in between each addition.

5. The flour and salt comes next, just mix it in gently until no dry patches of flour remain.

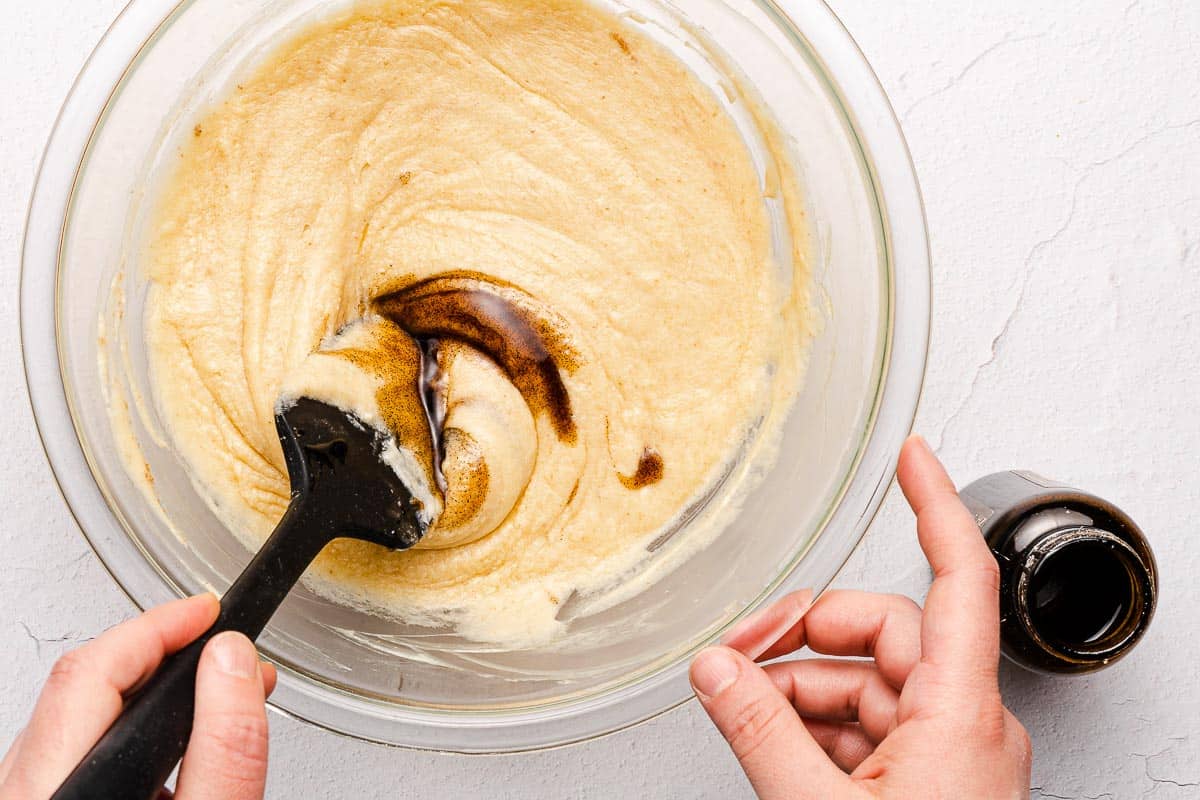
6. Finally, stir in the vanilla bean paste or vanilla extract.
7. Add the brownie batter to the prepared pan and smooth out the top.

8. Bake it in the preheated oven until the top is a golden brown and the top feels firm. A toothpick inserted in the center should come out with no wet batter (but a few moist crumbs clinging is ok!).

9. Let the brownies cool fully (I let mine cool for about one hour). During the end of the cooling process, mix up the icing. You can make the icing as thick or as thin as you like; I recommend starting with a little bit less milk than you will likely need and adding a few drops at a time until you achieve the consistency you like. This way, it's harder to overshoot and make your icing too runny.

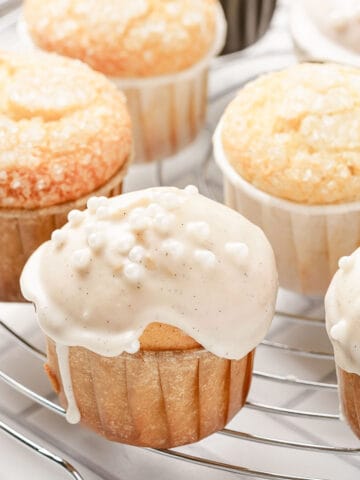
10. Then, just apply the icing to the top of the brownies; I like using a small offset spatula for this but a butter knife works just fine too! At this point, you can either cut the brownies right away or let the icing set up for a bit and then cut, if you want your slices to be a bit neater.

Tips and tricks
- It's optional to line the pan with a layer of parchment paper, but if you do, be sure to grease the surface of the parchment paper with butter too just for extra insurance against sticking. (I also like to grease the pan first because I find it helps the paper to stick down in place.)
- Lining the pan is helpful because it lets you lift the entire square of brownies out of the pan in one piece, making it easier to frost and cut the brownies. If you want to line the pan, leave some overhanging on each side to use like little handles!
- The recipe calls for room temperature eggs, this is because cold eggs hitting the warm butter may cause the butter to seize up. I like to place my eggs into a bowl of very warm tap water before I do anything else, this is usually enough to warm them up before I need to use them.
Recipe FAQs
You can store the brownies at room temperature, tightly covered. They will keep fine at room temperature for about 2 days. If you want to pack up the brownies to give away or take somewhere, you can stack them, but you will need to let the icing set beforehand, which will likely take a couple hours. And, I would add a layer of parchment paper in between each layer just to be extra sure they won't stick together.
Yes, these brownies freeze well! Again, you will want to wait until the icing has set up before freezing them. I like to wrap them individually in plastic wrap and just pull one out whenever I need a quick brownie fix!
Well, this depends on how big you like your brownies! I would say they make 12 pretty "standard" sized brownies. But, for a small portion that would be nice for a cookie tray, you could also cut them into 16. (Or, if you like them big, cut them into 9 squares, don't let me stop you!)

Related recipes
If you've tried this recipe, please leave a star rating and/or review in the comments section below, I would love to hear from you! You can also follow me on Facebook, Instagram and Pinterest. And sign up for my weekly newsletter to get recipes delivered straight to you!
Print📖 Recipe
Vanilla Brownies

These vanilla brownies are a fun and fancy twist on a regular chocolate brownie, with lots of vanilla flavor in the brownie and in the vanilla icing!
- Prep Time: 15 minutes
- Cook Time: 30 minutes
- Total Time: 1 hour 45 minutes
- Yield: 12 servings 1x
- Category: Dessert
- Method: Bake
- Cuisine: American
Ingredients
For vanilla brownies:
- ½ cup unsalted butter (1 stick), plus more for greasing the pan
- 8 ounces (227 g) white chocolate chips
- ¼ cup (47 g) packed brown sugar
- ½ cup (105 g) granulated sugar
- 3 large eggs, at room temperature
- 1 cup (125 g) all-purpose flour (spooned & leveled)
- ½ teaspoon salt
- 2 teaspoons vanilla bean paste (or vanilla extract)
For vanilla icing:
- 2 tablespoons unsalted butter
- 1 ½ cups (180 g) powdered sugar
- 1 ½ - 2 tablespoons milk
- 1 teaspoon vanilla bean paste (or vanilla extract)
- pinch salt
Instructions
- Preheat the oven to 350 degrees F.
- Cut the ½ cup unsalted butter into chunks and place it into a large, microwave-safe bowl. Add in the white chocolate chips. Microwave the butter and white chocolate chips on 50% power for 30 seconds. Stir the mixture well and microwave again at 50% power for 30 seconds. Stir again thoroughly to combine the butter and melted white chocolate chips. (If the white chocolate has not yet melted fully, microwave again for another 15 seconds at 50% power and stir again; repeat until the white chocolate has completely melted.)
- Let the white chocolate and butter mixture cool for a few minutes until lukewarm. While the white chocolate mixture is cooling, grease a 9 x 9 inch pan with butter. If desired, line the bottom of the pan with a strip of parchment paper, leaving some overhanging on either side of the pan (see note 1). Grease the bottom of the parchment paper with butter (if using).
- Once the white chocolate mixture has cooled slightly, mix in the brown sugar and granulated sugar with a wooden spoon or rubber spatula.
- Mix in the room temperature eggs, one at a time, stirring in between until well combined with the white chocolate mixture.
- Add the flour and salt to the mixture. Stir until the flour has been fully absorbed into the batter, but do not overmix.
- Mix in the vanilla bean paste or vanilla extract.
- Pour the brownie batter into the prepared 9 x 9 inch pan and smooth out the top.
- Bake the brownies in the pre-heated oven for 28 - 32 minutes, or until the top is deep golden brown and a toothpick inserted into the center comes out clean (there may be some moist crumbs, but you should not see any wet batter).
- Allow the brownies to fully cool in the pan (about 1 hour). Towards the end of the cooling time, make the icing: Add the 2 tablespoons butter to a medium microwave-safe bowl. Microwave the butter on high for 30 seconds to melt. (If needed, you can microwave the butter for an additional 10 seconds to fully melt the butter). Add the powdered sugar, pinch of salt, teaspoon of vanilla bean paste (or vanilla extract), and 1 ½ tablespoons milk. Whisk together until evenly combined. Add in a few additional drops of milk at a time until the desired consistency is reached (see note 2).
- When the brownies are fully cooled, spread the icing on top of the brownies. Either cut the brownies into squares right away, or let the icing set before cutting for a cleaner edge on the icing. (If you lined the pan with parchment paper, you can remove the brownies from the pan before adding the icing if desired.)
Notes
Lining the pan with parchment paper is optional, but it does allow you to lift the brownies right out of the pan in one piece (just make sure to leave some extra parchment hanging out on either side to use as handles!). I found it easier to apply the icing and cut the brownies neatly when they are removed from the pan.
You can adjust the consistency of the icing to suit your tastes. I used the full 2 tablespoons of milk, which resulted in an icing that was thick but still easy to spread. For a thicker icing, use less. If you want more of a glaze, you can increase the amount of milk as needed. Either way, I recommend adding the milk by a few drops at a time because the consistency can change quickly even with a small amount of liquid.
Store the brownies at room temperature, tightly covered, for up to 2 days. You can also freeze the brownies for up to 3 months. To freeze, wait until the icing has set and wrap the brownies individually in plastic wrap.


Barbara Tullis says
While I was making the recipe, I couldn't help but stick my fingers in the mix just to make sure all was going well. It tasted so good, I could hardly wait for it to be finished. Pass this one on!!!
Kate says
Barbara I'm so glad you enjoyed the vanilla brownies, they are my favorite too 🙂 Even my husband who doesn't particularly like brownies loves these! Thank you for sharing! 🙂
Nancy L Post says
I can't seem to find the nutrition information on these vanilla brownies. Could you please provide it to me? Thanks!
Adeline says
This is a cake nothing like a brownie or blondie. It taste good but nothing at all what you advertised
Kate says
Adeline I'm sorry the brownie recipe wasn't what you were looking for, but I'm glad they still tasted good! I will consider your feedback the next time I update this recipe.