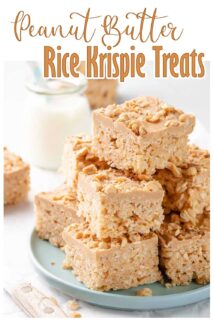
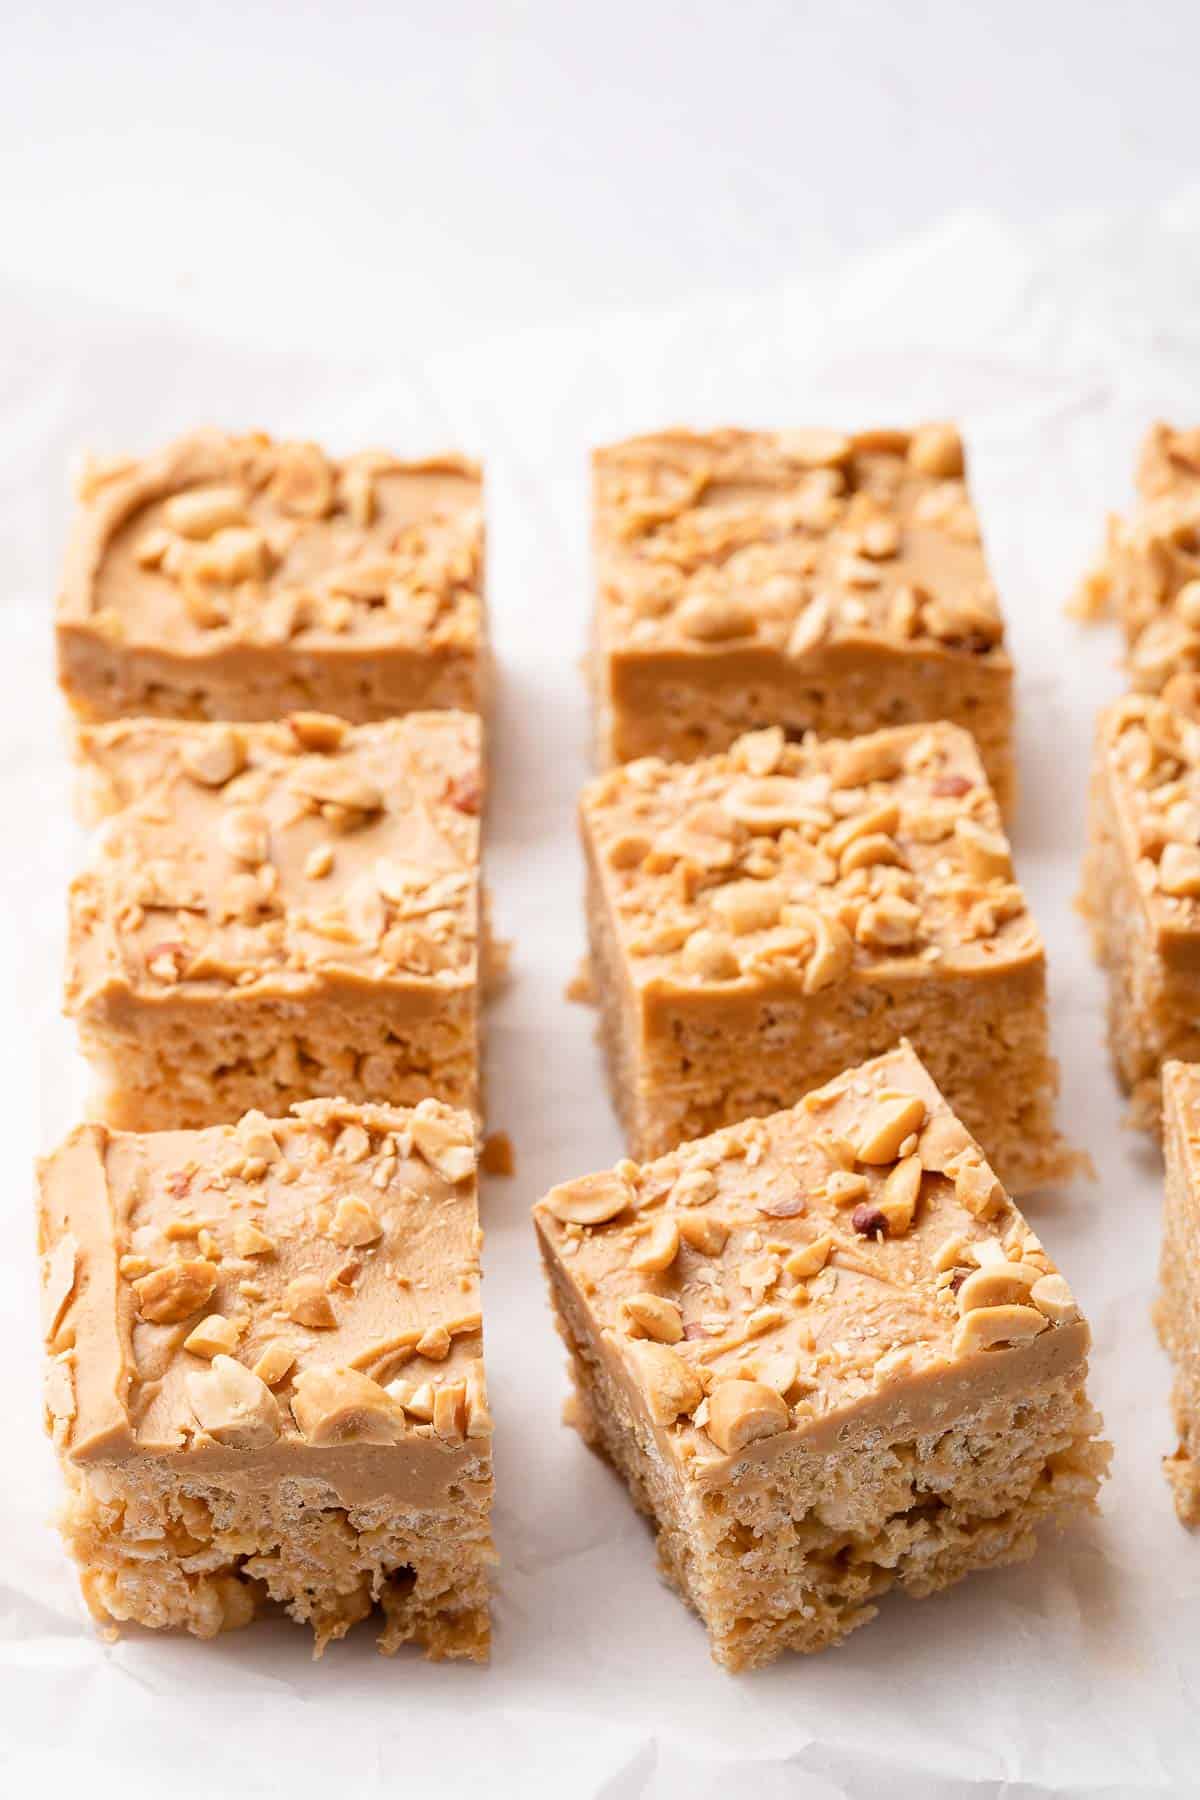
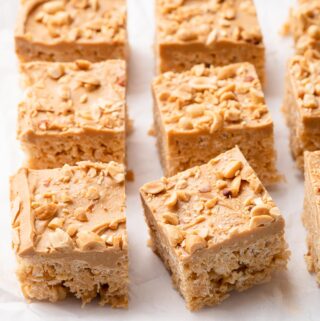
Peanut butter rice krispie treats are the perfect nostalgic dessert for peanut butter lovers! These rice krispie treats have peanut butter in the base, as well as a topping made from peanut butter chips and chopped peanuts. You can make this easy peanut butter dessert with only about 15 minutes prep time!
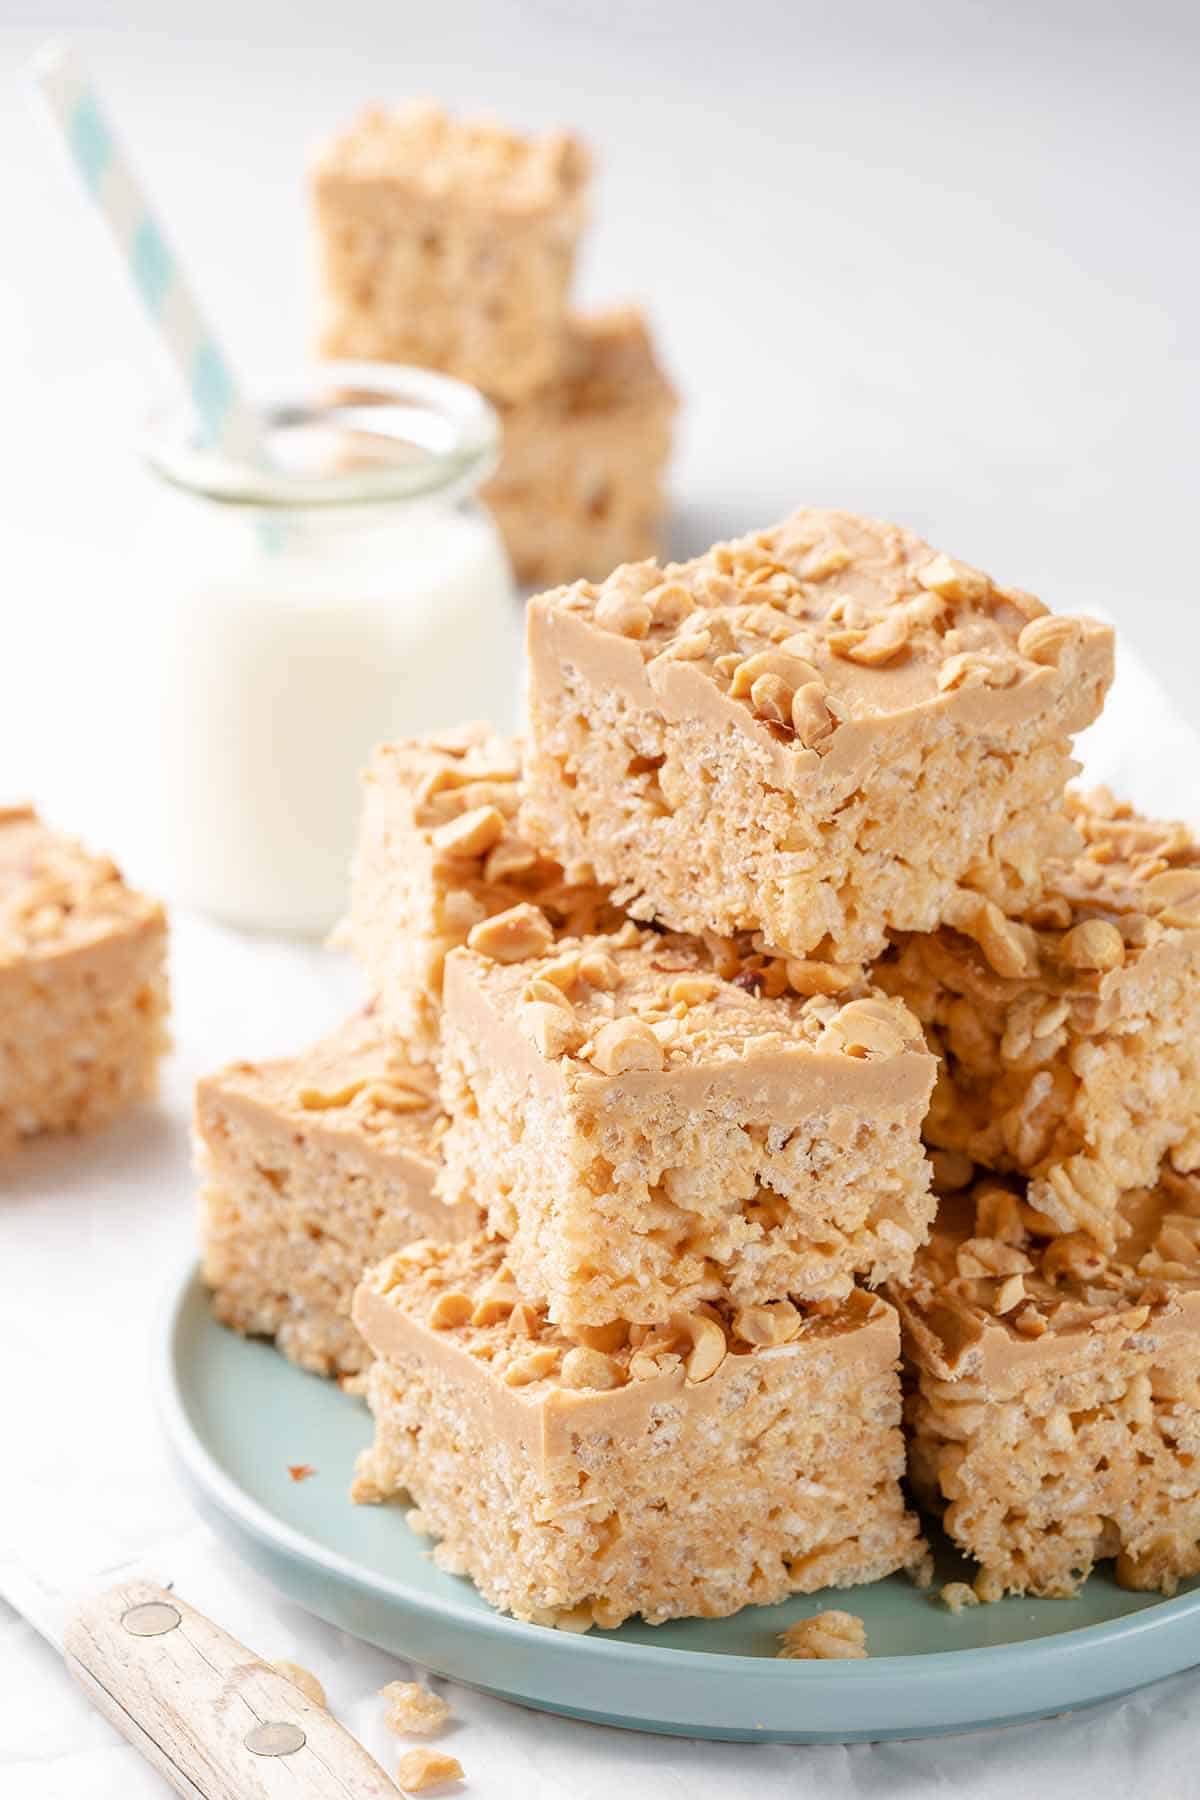
Rice krispie treats are beloved by children and adults alike, and in my opinion, this peanut butter version tastes even better than the original! These peanut butter rice krispie treats are based off of this original recipe for rice krispie treats, but get a big punch of peanut buttery goodness from peanut butter, peanut butter chips, and chopped peanuts!
And of course, my favorite part is that you only need 7 basic ingredients to make these peanut butter rice krispie treats, and they take only about 15 minutes prep time to make!
This post contains affiliate links. As an Amazon Associate I earn from qualifying purchases. If you make a purchase through the link, it won't cost you more but I may earn a small commission. I only recommend products that I personally use and love!
Recipe ingredients
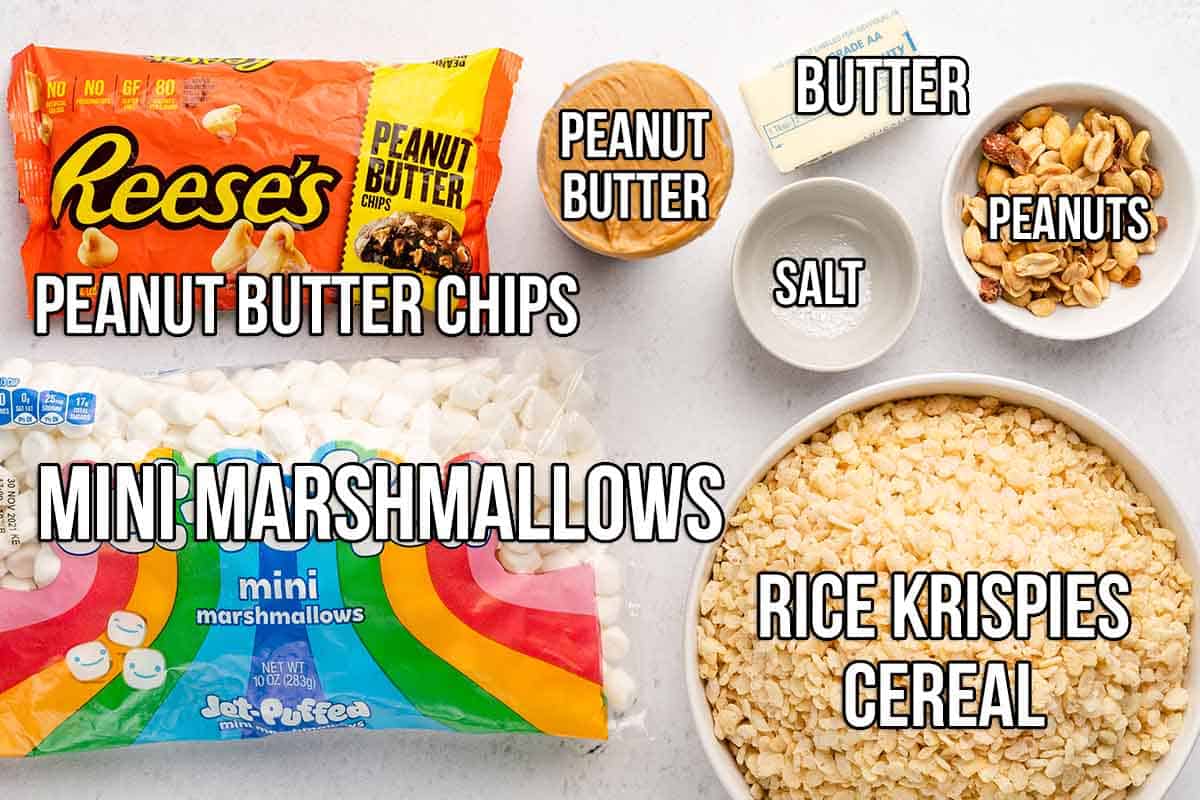
Ingredient notes
- Peanut butter: here I used regular (not natural) smooth peanut butter. But, I have also successfully made this recipe with natural peanut butter, so you can use either one. I haven't tried using chunky peanut butter, but I'm sure that would also work fine.
- Butter: I used unsalted butter, but you can use salted butter if you prefer. Just leave out the pinch of salt called for in the recipe.
- Mini marshmallows: if you don't have mini marshmallows, you can substitute an equal weight of regular marshmallows. They take a little bit longer to melt but will work the same otherwise.
Step by step photo
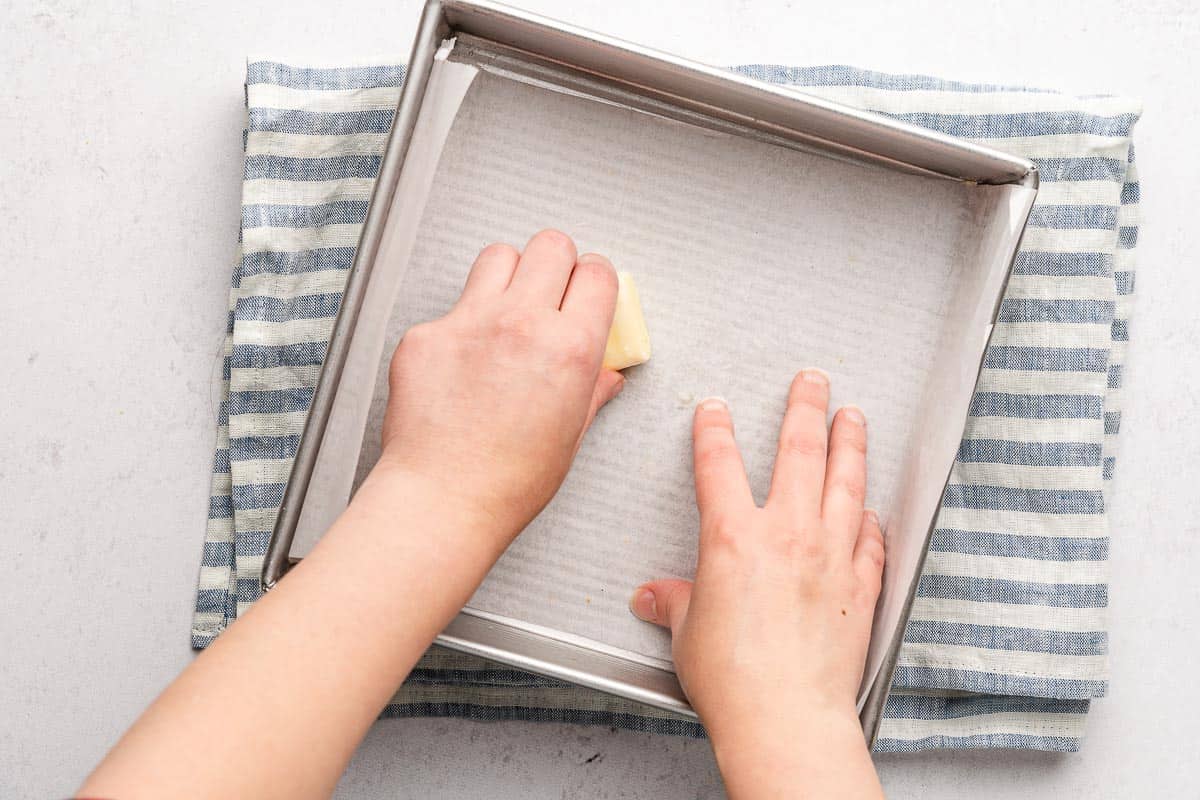
1. First, prepare a 9 x 9 inch pan by lining it with parchment paper and greasing the bottom and sides well. (Make sure to leave a little overhang of the parchment paper to use like handles!) I like to grease the bottom of the pan itself as well to help the parchment stick down.
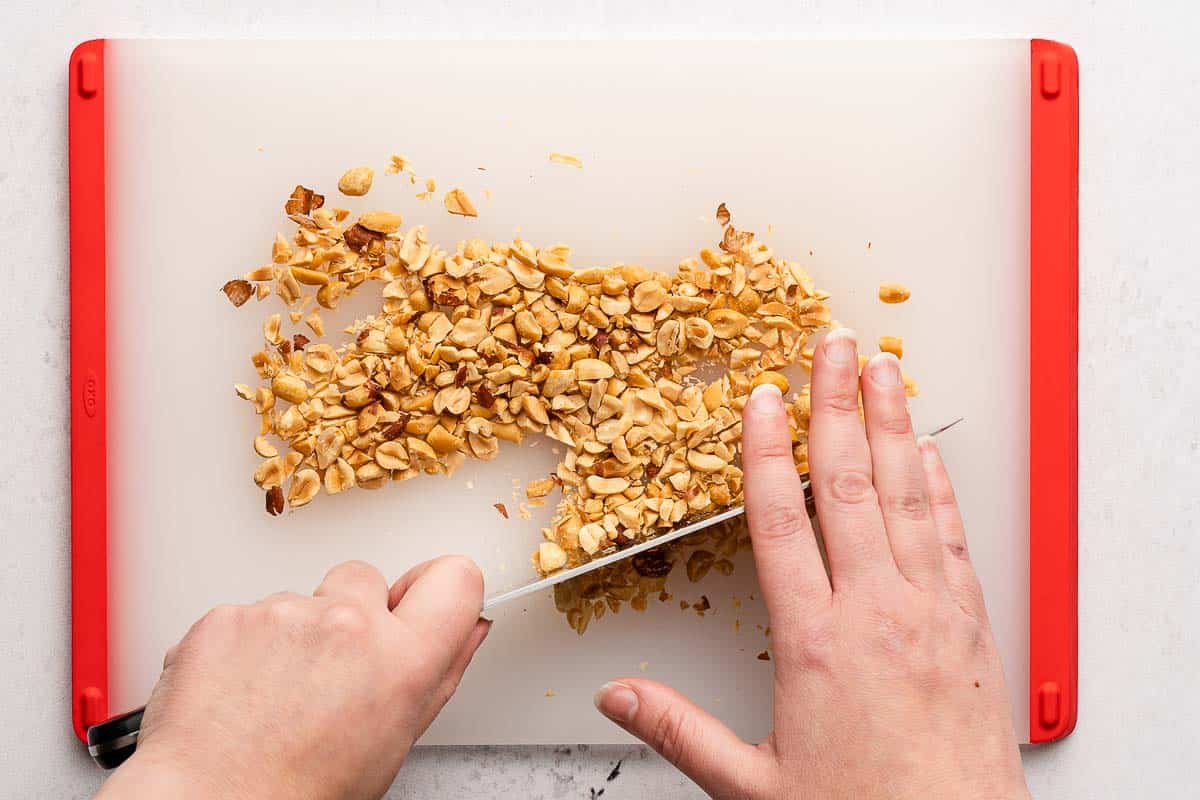
2. Now you can also chop the peanuts for the garnish. Just a rough chop will do, and set them aside for later.
3. Next, heat 4 tablespoons of the butter over low heat in a large pot. When the butter melts, add in the marshmallows, let them start to melt and keep stirring.
I like to stir using either a firm spatula, or a wooden spoon that has a flat edge. This really helps to scrape up the sticky mixture from the bottom of the pan!
(And just so you know, I photographed this in my studio for better lighting, but all the following steps with the pot should be done on the stovetop!)
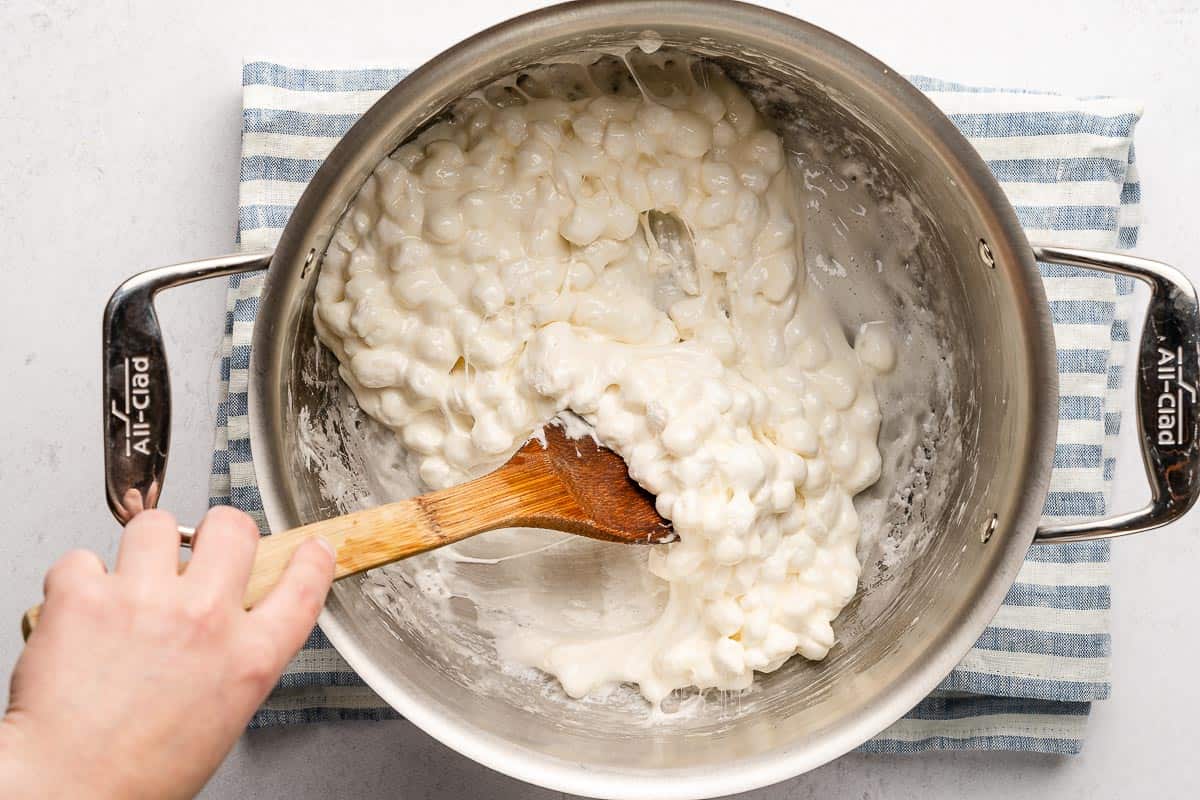
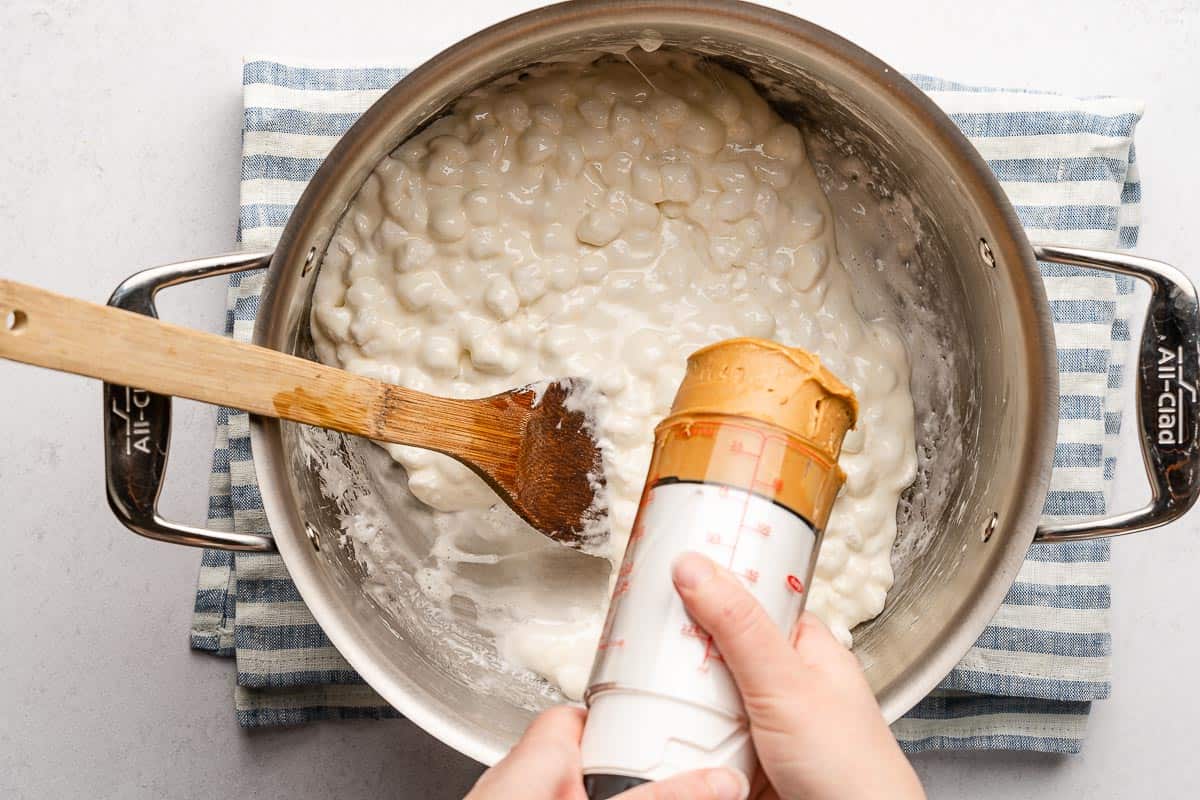
4. When the marshmallows are about half way melted, add in the peanut butter and a pinch of salt. To measure sticky ingredients like peanut butter, I love using this adjustable measuring cup, (affiliate link); the ingredients get pushed out easily and you can see if there are any air pockets when measuring.
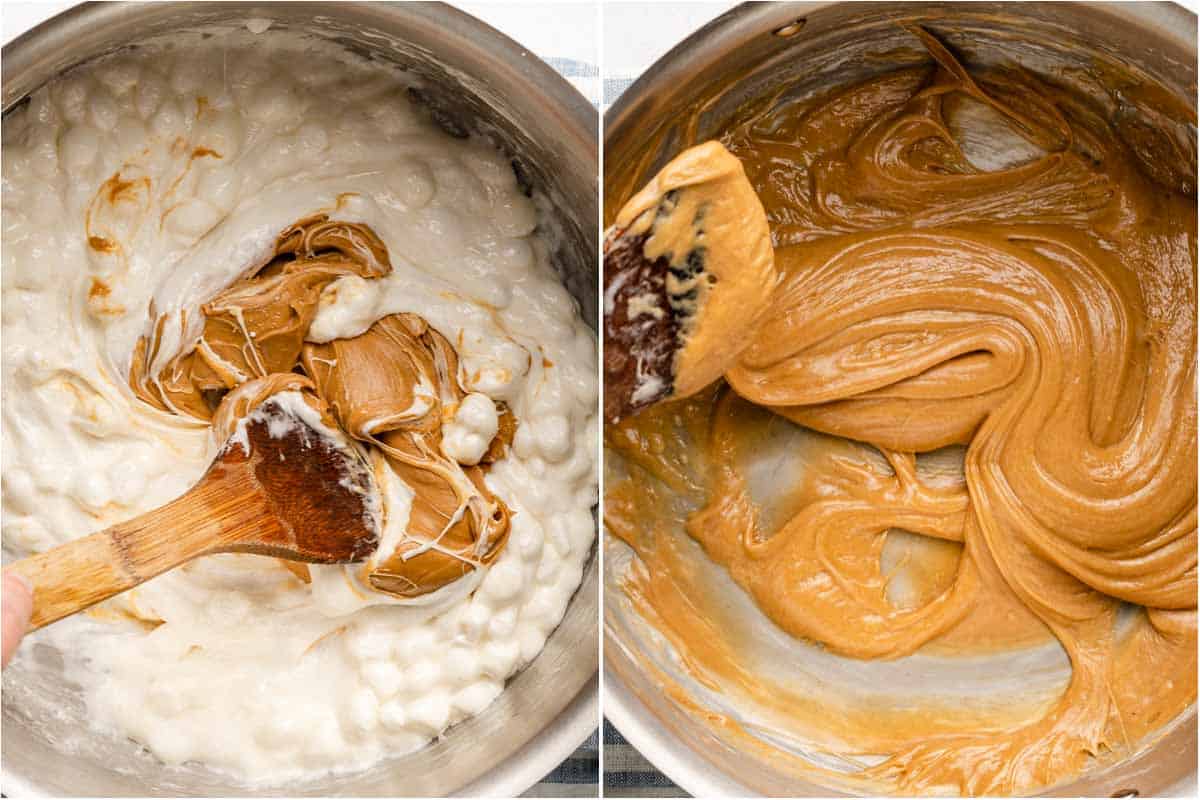
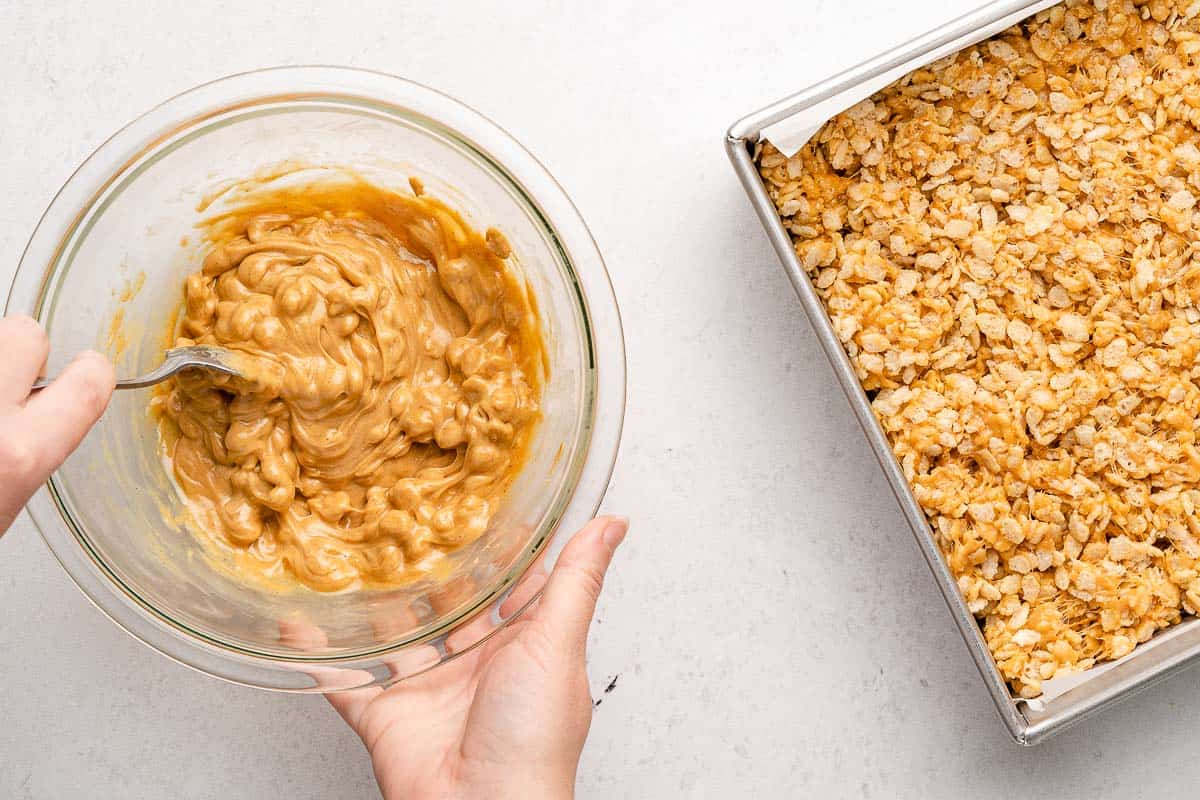
5. Keep stirring the peanut butter and marshmallows together until they are smooth and evenly combined, as you can see below:
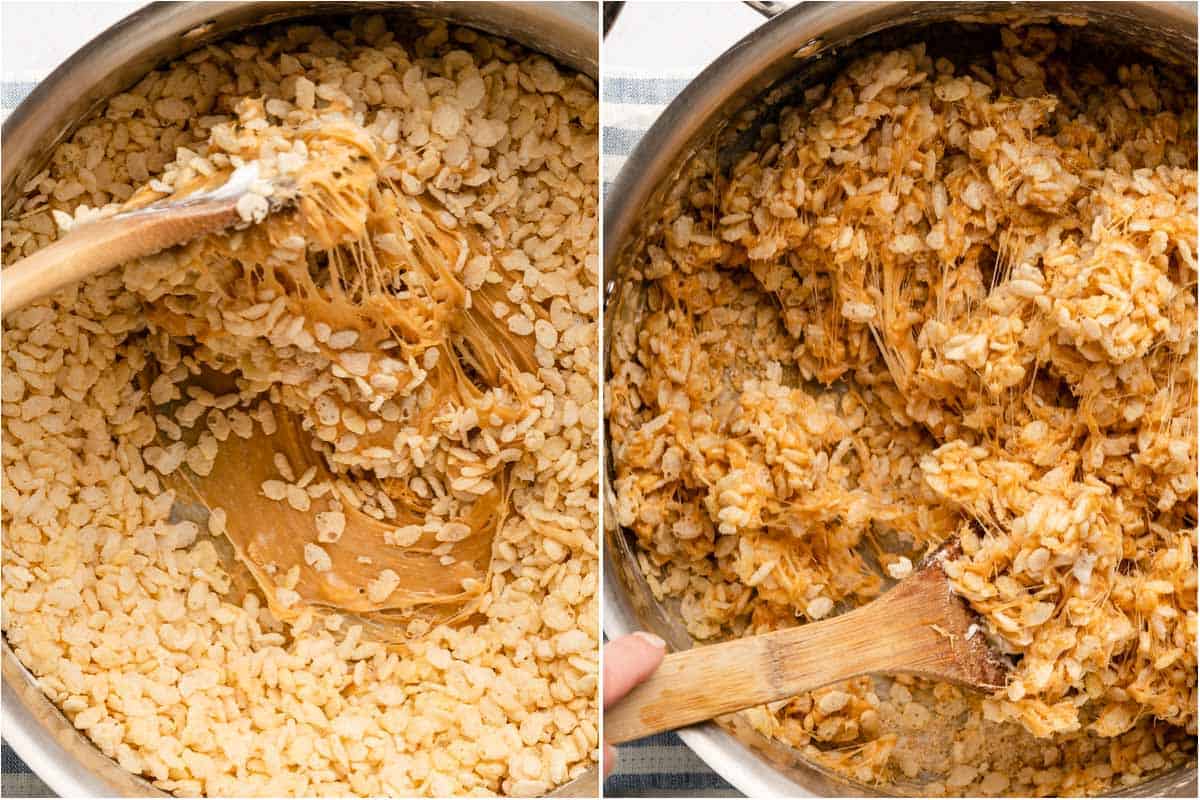
6. Now, pour in the rice krispies and stir again until evenly combined.
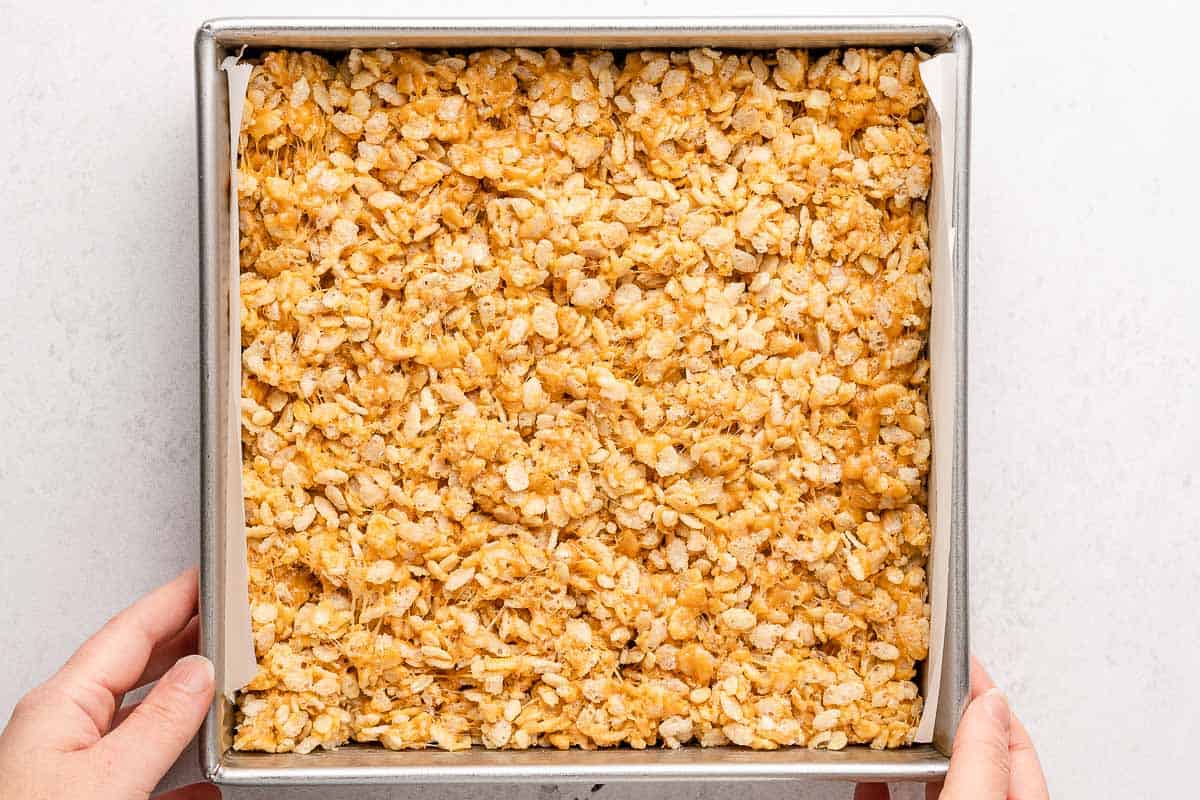
7. Turn off the stove and quickly scoop out the mixture into the prepared pan and pat it into an even layer. A greased spatula works well for this task!
Also, don't press the mixture down, just lightly pat it into place. This will ensure that you get a light and airy treat, rather than a hard brick!
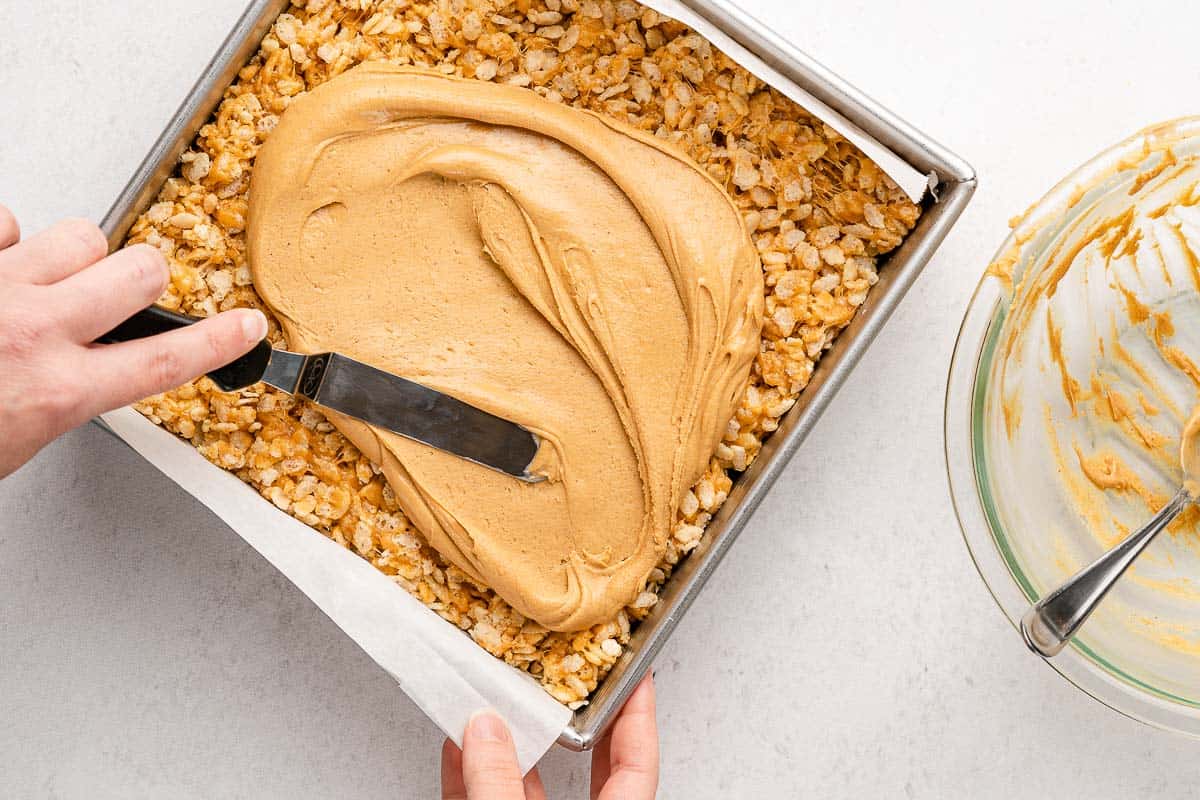
8. Now add the peanut butter chips and remaining 2 tablespoons butter into a microwave-safe bowl. Microwave the chips on 50% power for 1 minute and stir well. Then, microwave again at 50% power in 30 second increments, stirring in between, until the chips are completely melted.
9. Spread the melted peanut butter chips over the peanut butter rice krispie treats in an even layer.
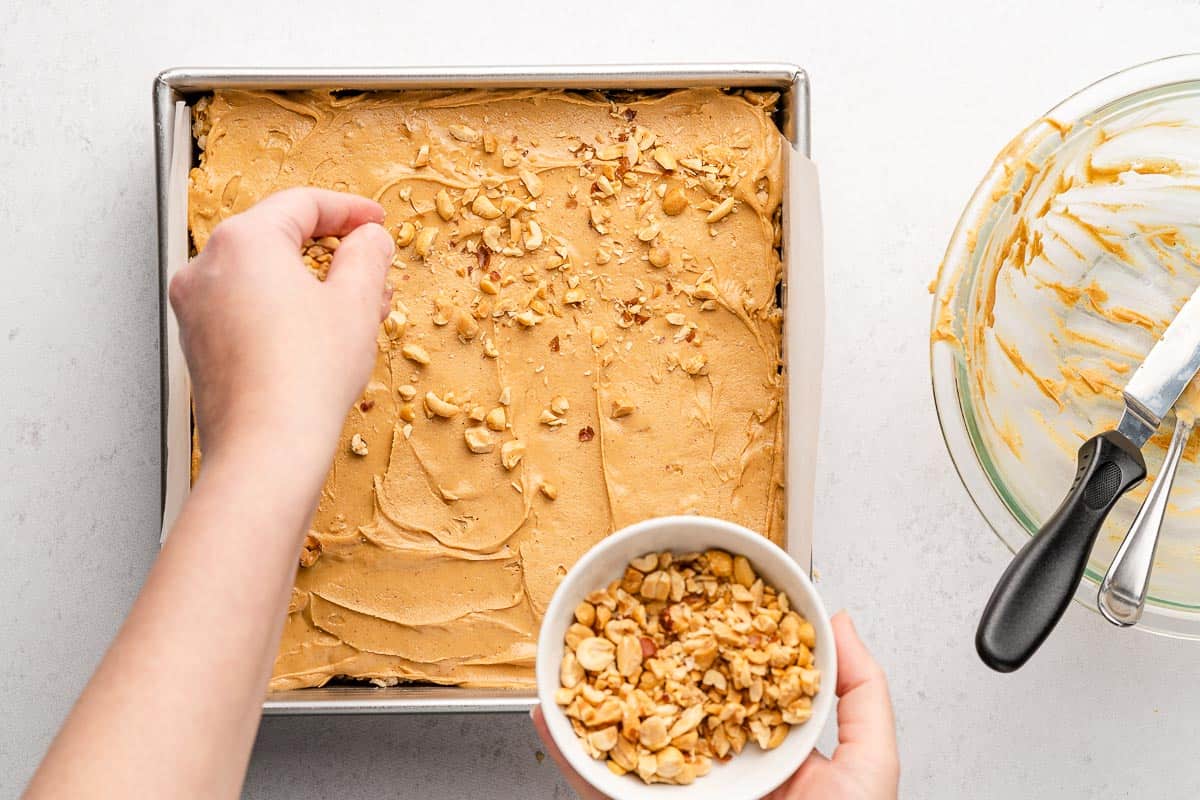
10. Sprinkle the chopped peanuts over the top.
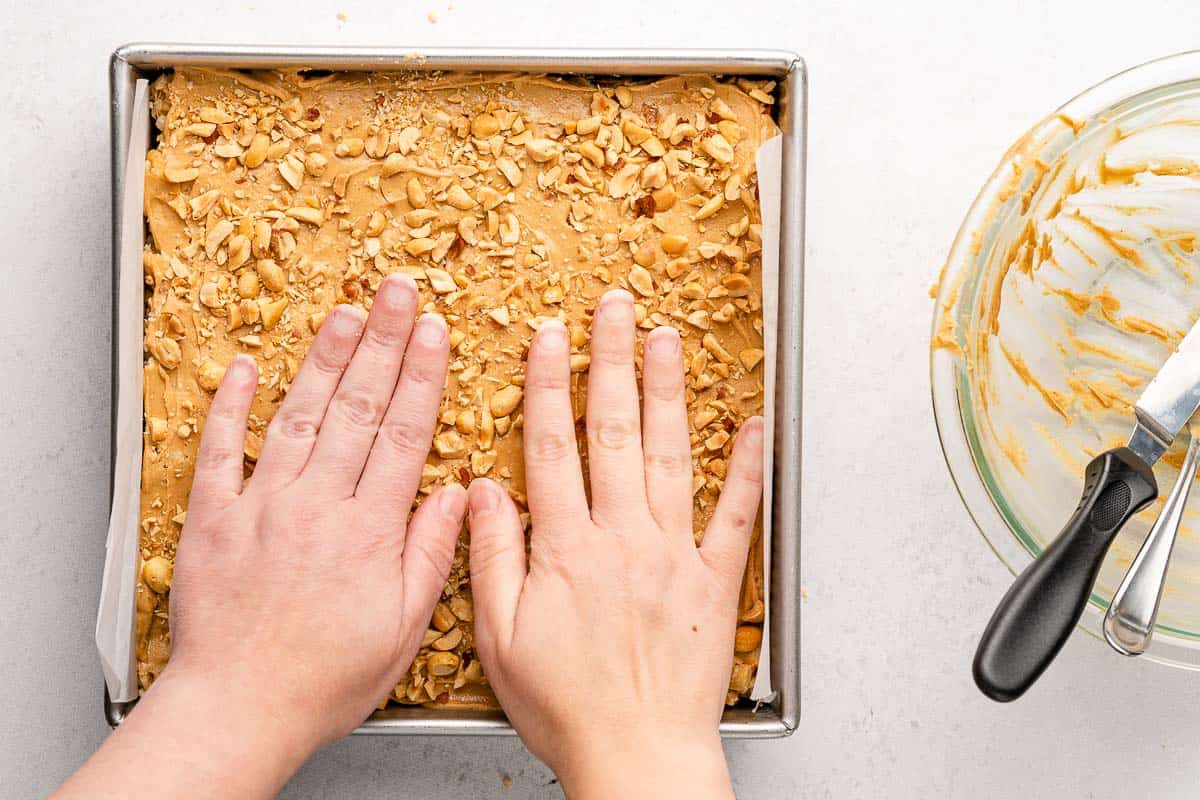
11. To help the peanuts stick better, give them a gentle pat. Now you can let the rice krispie treats cool on the counter until the topping has set, for about 1 hour. Or, place them in the fridge to speed up the process!
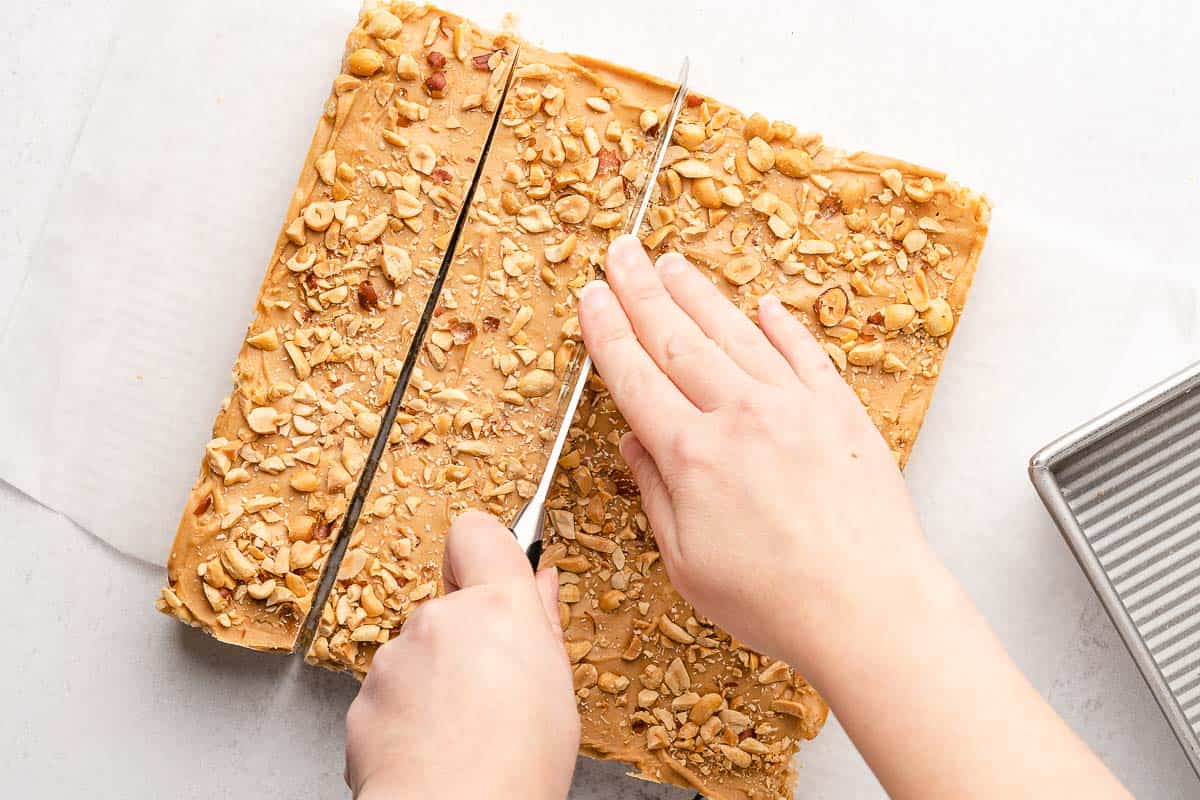
12. When the topping has set, use the parchment paper hanging over the sides to lift the whole tray of rice krispie treats out onto a cutting board. Cut the treats into squares or bars.
Tips and tricks
- The rice krispie treat mixture comes together very quickly once the marshmallows are melted, so it's very helpful to have all of your ingredients prepped and measured before you start the cooking process.
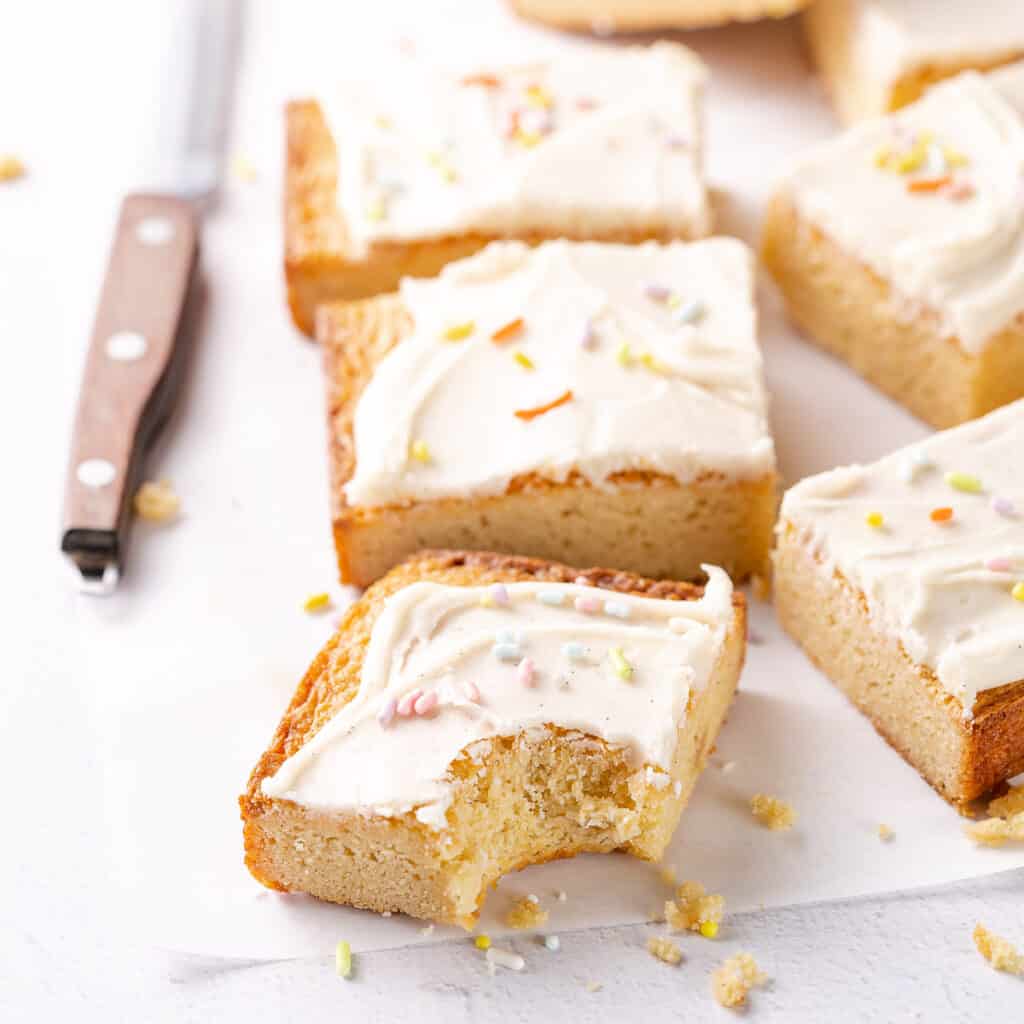
- As I explained in my vanilla brownies post, the parchment paper is optional, but it really does help them from sticking to the bottom of the pan, and it is very easy to cut the treats into even squares when you don't have to maneuver around the sides of the pan.
- If you like, rather than using a 9 x 9 inch pan, you can put the rice krispie treats in a 9 x 13 inch pan. They will be thinner but you can also cut more servings that way.
- If you want to use the 9 x 13 inch pan instead, I recommend making 1 ½ times the recipe for the topping, so you still get enough topping for each piece. So for example, rather than using 10 ounces peanut butter chips and 2 tablespoons butter, use 15 ounces chips and 3 tablespoons butter.
- You can switch up the toppings as well - rather than chopped peanuts, try mini chocolate chips, chopped peanut butter cups, or sprinkles!
Recipe FAQs
Yes you can, for me they have lasted well at room temperature for about 2 days. However, they do taste best the first day they are made! (See the next questions for more info on storing and freezing the treats.)
Once the topping has set, you can store the peanut butter rice krispie treats in an airtight food storage container. Or, you can store them in a tightly sealed gallon zip top bag - basically anything that will keep the air out to keep them fresher for longer.
To store at room temperature, I found that I was able to stack the treats without needing parchment between the layers, as long as the topping is well set.
Yes, you can freeze these rice krispie treats! After the topping has set and you have cut them into squares, just stack them in a single layer in a food storage container that has a tight-fitting lid. If you want to stack a second layer on top, separate the layers with a piece of parchment paper to keep them from sticking together as they freeze.
When you want to enjoy a peanut butter rice krispie treat from the freezer, just pull one out and let it thaw at room temperature for about 15 - 20 minutes.
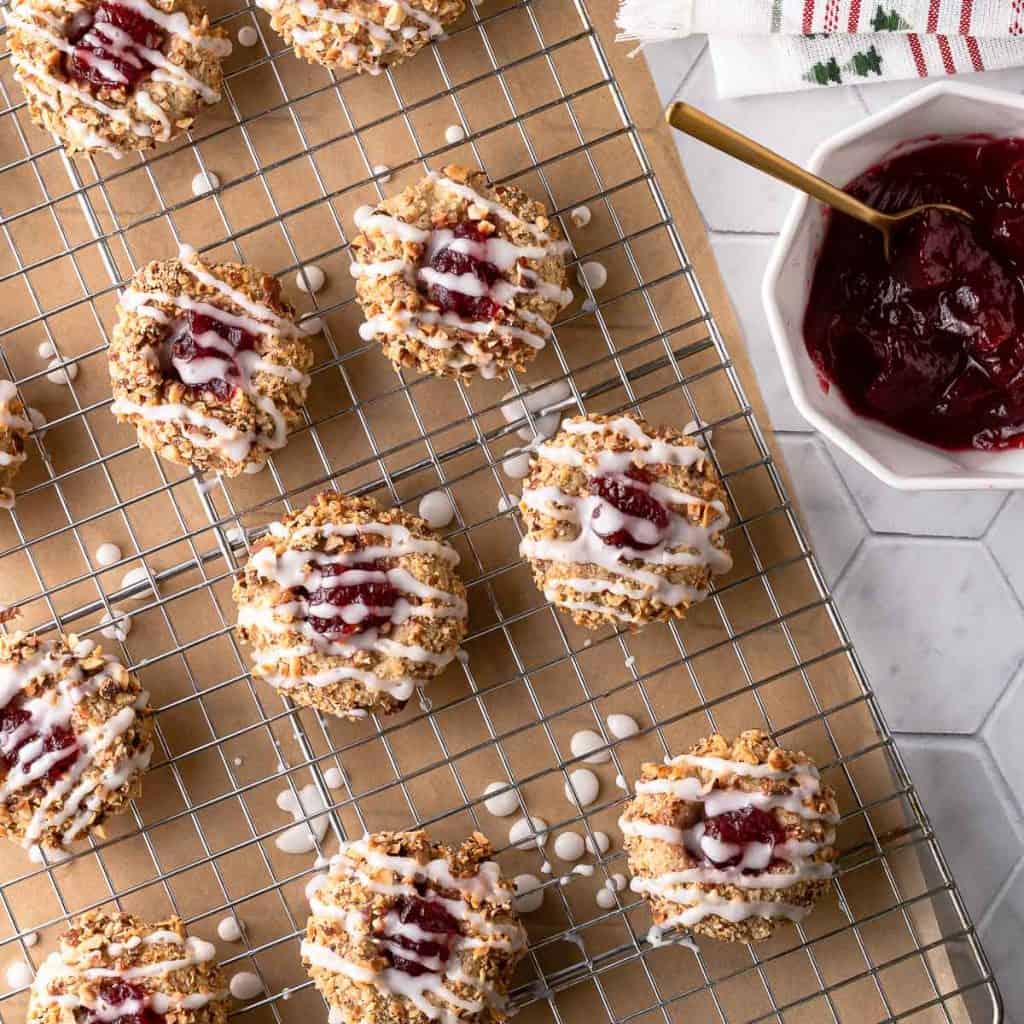
Related recipes
If you've tried this recipe, please leave a star rating and/or review in the comments section below, I would love to hear from you! You can also follow me on Facebook, Instagram and Pinterest. And sign up for my weekly newsletter to get recipes delivered straight to you!
Print📖 Recipe
Peanut Butter Rice Krispie Treats
Rice krispie treats with tons of peanut butter flavor! There's peanut buttery goodness in the base, the topping, and garnish!
- Prep Time: 5 minutes
- Inactive time: 30 minutes
- Cook Time: 10 minutes
- Total Time: 45 minutes
- Yield: 16 servings 1x
- Category: Dessert
- Method: microwave, stove top
- Cuisine: American
Ingredients
- 6 tablespoons (85 g) unsalted butter, divided (plus more to grease the pan)
- 10 ounces (283 g) mini marshmallows
- ⅔ cup (171 g) smooth peanut butter (any type)
- pinch salt
- 6 cups (170 g) rice krispies cereal
- 10 ounces (283 g) peanut butter chips
- 2 ounces (57 g) roasted peanuts, chopped
Instructions
- Grease a 9 x 9 inch pan with butter. If desired, line the bottom of the pan with a strip of parchment paper, leaving some overhanging on either side of the pan (see notes 1 - 2). Grease the bottom of the parchment paper with butter (if using). Set the pan aside.
- Melt 4 tablespoons of the butter in a large pot set over low heat. While the butter is melting, stir it occasionally with a wooden spoon or spatula.
- When the butter is melted, add the mini marshmallows. As the marshmallows melt, stir them frequently, being sure to scrape the bottom of the pot occasionally to keep the marshmallows from burning.
- When the marshmallows are about half melted, add in the peanut butter and pinch of salt. Continue to stir frequently, scraping the bottom of the pot, until the marshmallows are completely melted and the mixture is evenly combined.
- Dump the rice krispies cereal into the pot. Stir gently to evenly combine the cereal with the peanut butter marshmallow mixture. When thoroughly combined, turn the stove off.
- Quickly scoop the rice krispie treats into the prepared pan. Use a greased spatula to pat the rice krispie treats into an even layer. Do not compress the rice krispie treats, just lightly pat them into place.
- Add the peanut butter chips and remaining 2 tablespoons butter to a medium microwave-safe bowl. Microwave the bowl on 50% power for 1 minute. Stir the peanut butter chips and microwave at 50% power for an additional 30 seconds, then stir again. If not yet fully melted, microwave for an additional 30 seconds at 50% power, stir again.
- Spread the melted peanut butter chips over the rice krispie treats in an even layer. Sprinkle the chopped peanuts on top, pressing them down gently to help them stick better.
- Let the peanut butter rice krispie treats cool fully, about 1 hour at room temperature or 30 minutes in the fridge.
- When the treats are fully cool and the topping has set, remove them from the pan in one piece using the sides of the parchment paper to lift them out. Cut the rice krispie treats into squares or bars and serve. (If you did not line the pan with parchment, you can cut them into squares while still in the pan.)
Notes
Lining the pan with parchment paper is optional, but it does allow you to lift the rice krispie treats out of the pan in one piece (just make sure to leave some extra parchment hanging out on either side to use as handles!). I found it easier to cut the rice krispie treats neatly when they are removed from the pan.
You can use a 9 x 13 inch pan instead of a 9 x 9 inch pan if you prefer. The treats will be thinner but you can also cut more servings. If using the 9 x 13 inch pan, I recommend using 15 ounces peanut butter chips and 3 tablespoons butter for the topping, so there is enough topping to cover the larger surface area.
The rice krispie treat mixture comes together very quickly once the marshmallows are melted, so it's very helpful to have all of your ingredients prepped and measured before you start the cooking process.
This recipe was adapted from this rice krispies treats recipe.
The nutrition information below is an estimate provided by an online nutrition calculator, and should not be considered a substitute for professional medical, health, or nutritional advice. See our full nutrition disclosure policy.
Nutrition
- Serving Size: 1/16 recipe
- Calories: 317
- Sugar: 18.9 g
- Sodium: 225 mg
- Fat: 16.8 g
- Saturated Fat: 8.3 g
- Carbohydrates: 36.4 g
- Fiber: 1.8 g
- Protein: 8.3 g
- Cholesterol: 15 mg


Leave a Reply