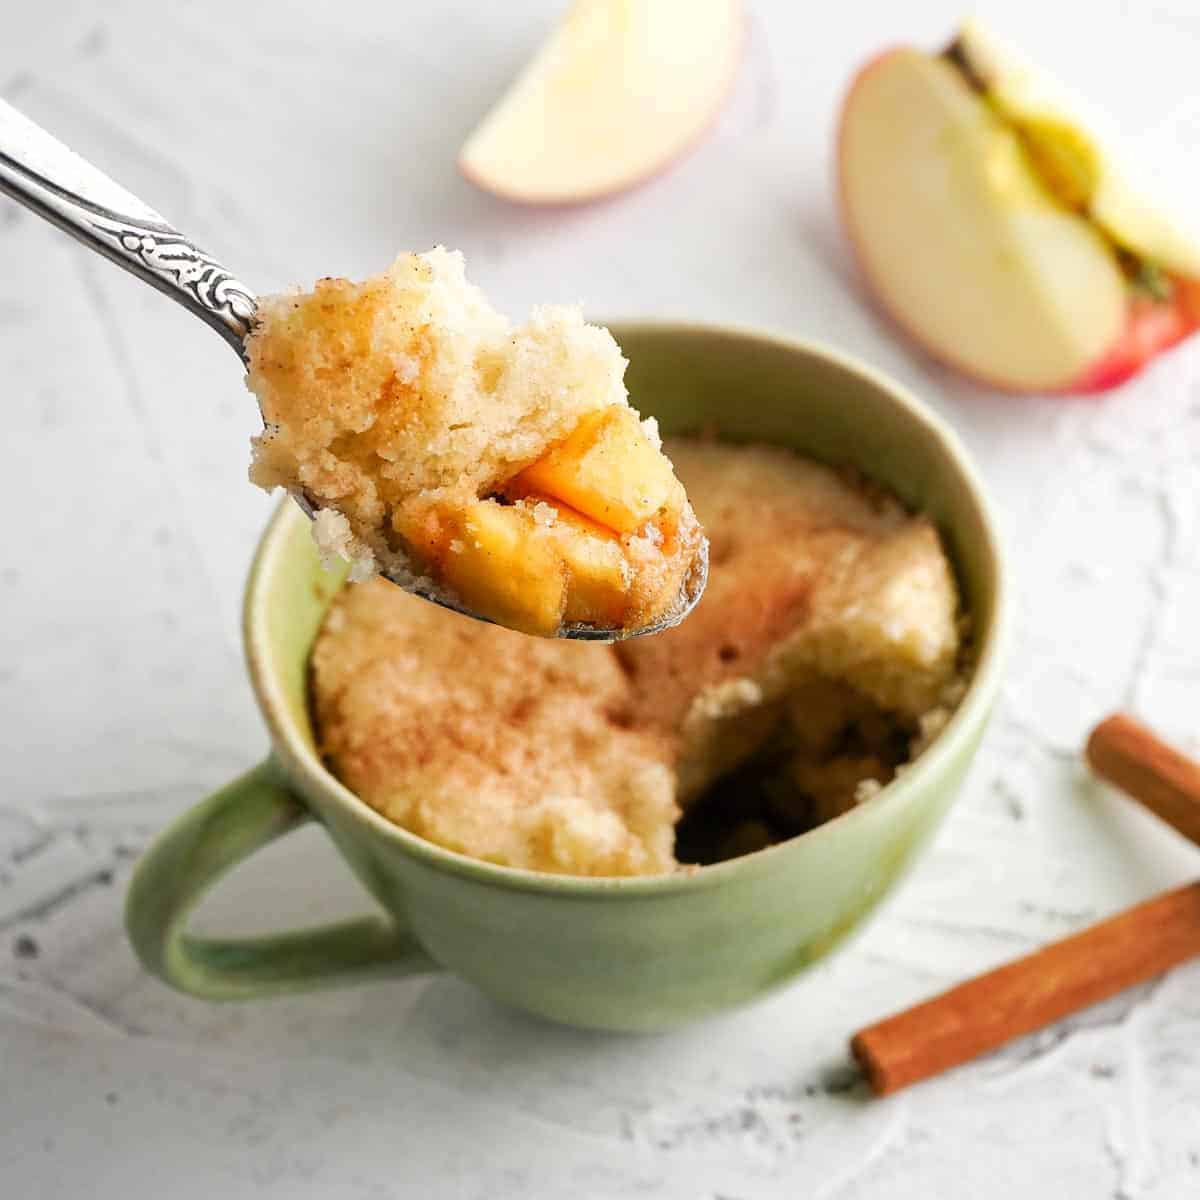
This Oreo mug cake starts with a base of fluffy vanilla cake with tons of Oreo crumbles added in. And, for even more delicious cookies and cream flavor, a whole Oreo is added to the center of the batter for a fun Oreo surprise!

As you may know from my posts for Apple Cinnamon Mug Cake, Gingerbread Mug Cake, Chocolate Berry Mug Cake (and the list goes on...), I really LOVE mug cakes! They are so easy to throw together in only a few minutes, and really give you that indulgent, warm and cozy "treat" feeling without much hassle.
This Oreo mug cake is no different; you will be enjoying a deliciously fluffy and sweet cookies and cream treat in less than 10 minutes! And, the best part is the hidden, melty Oreo right in the center of the cake!
This post contains affiliate links. As an Amazon Associate I earn from qualifying purchases. If you make a purchase through the link, it won’t cost you more but I may earn a small commission. I only recommend products that I personally use and love!
Recipe ingredients

Ingredient notes
- Milk: I used 2% milk this time because that's what I had on hand, but whole milk would be great here, or you could even use skim milk. Or, try substituting your favorite non-dairy milk.
- Butter: the recipe specifies unsalted butter, but if you only have salted butter, just leave out the pinch of salt called for in the recipe.
- Oreos: I used the original Oreo cookie here, but feel free to experiment with some variations, such as Oreo Double Stuf (sounds amazing!), or maybe even Mint flavored Oreos?
Step by step photos
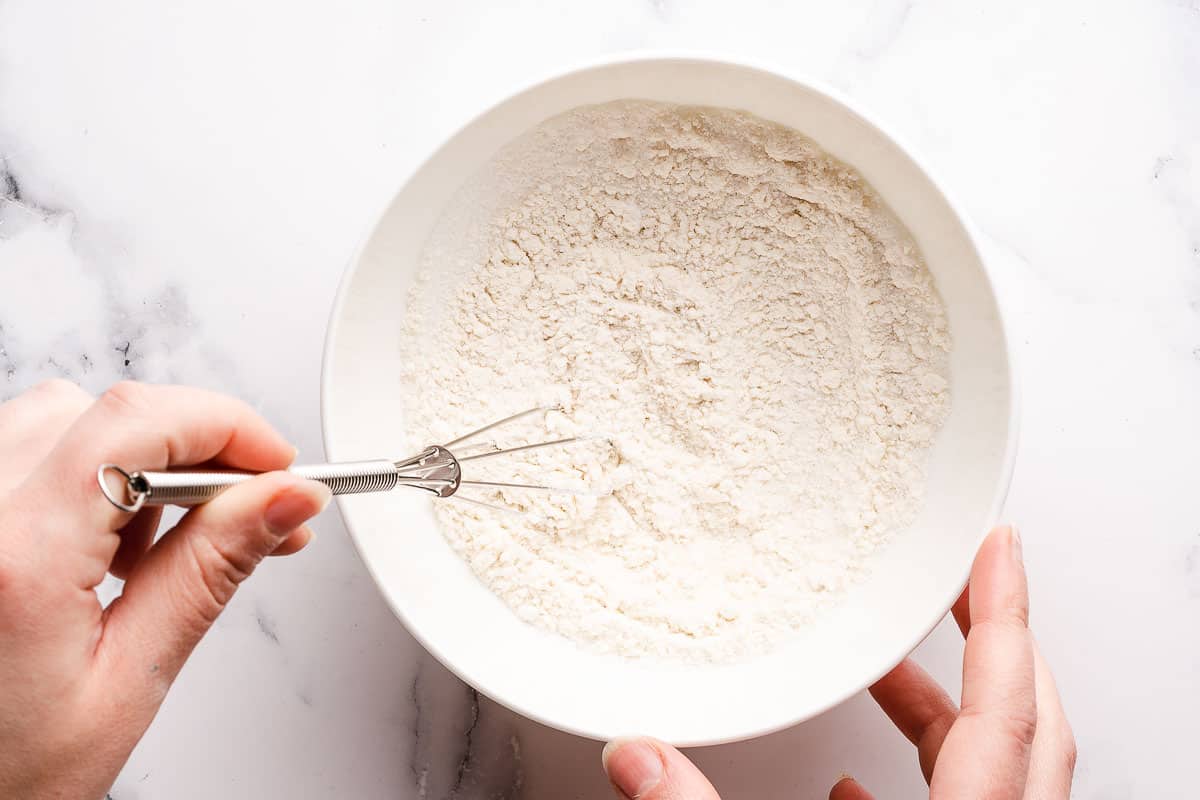
1. First, mix together the dry ingredients in a small bowl, set aside.

2. Then, microwave the butter to melt it; you can use the same mug that you plan on cooking the mug cake in. Add the melted butter, milk, and vanilla to the dry ingredients.

3. Whisk together the wet and dry ingredients until no lumps remain. I love using this mini whisk (affiliate link), but you can use a regular whisk or a fork.

4. Next, crumble in the 2 Oreos and mix the pieces into the batter.

5. Grab your mug and spoon in about half of the Oreo batter.

6. Now, go ahead and place one whole Oreo on top of the batter that you added to the mug.

7. Top off the mug cake with the rest of the batter.

8. Finally, microwave the mug cake until cooked through; there should be no wet batter on top and it should feel springy to the touch. Feel free to top the Oreo mug cake with any additional toppings, such as vanilla ice cream, whipped cream, and/or more crumbled Oreos. Enjoy!

Tips and tricks
- If your baking powder is a little pebbly when you scoop it out of the canister, break it up in your fingers or with a fork before adding to the dry ingredients. It can be hard to mix those fully into the batter and they will taste bitter!
- When crumbling the Oreos to add to the batter, you can make very small pieces for a more even distribution, or go with larger chunks if you want more texture!
- Since you are working with such small amounts, take care to measure the ingredients carefully. This will help ensure that the cake's texture and flavor are spot-on.
Recipe FAQs
The first thing you need to ensure is that the mug you are choosing is microwave safe!
After that, you just need to make sure that the mug is large enough so that the batter will not overflow in the microwave. All of the mug cake recipes on my site will work with a mug that is at least 12 ounces.
The finished mug cake will not come right up to the rim with a mug this size, but you need this extra wiggle room because the cake will rise quite high while it's cooking and then sink down a bit.
After the initial cook time of 90 seconds, check the top of the mug cake. It should be springy to the touch, with no areas of wet batter. You can also try peeking down the sides of the cake to check for any pockets of wet batter there.
If the cake needs it, microwave for an additional 10 seconds, then check again. Don't be concerned if you need to adjust the cooking time from what is in the recipe since all microwave ovens vary!
I definitely recommend at a minimum to top the cake with an extra crumbled Oreo, because why not! If you really want to go all out, then add a dollop of whipped cream or a scoop of vanilla (or cookies and cream!) ice cream.

Related recipes
If you’ve tried this recipe, please leave a star rating and/or review in the comments section below, I would love to hear from you! You can also follow me on Facebook, Instagram and Pinterest. And sign up for my weekly newsletter to get recipes delivered straight to you!
PrintOreo Mug Cake
A fluffy mug cake with tons of delicious Oreo flavor! Crumbled Oreos are mixed into the batter, and a whole Oreo is placed right in the center of the batter for a fun Oreo surprise.
- Prep Time: 5 minutes
- Cook Time: 2 minutes
- Total Time: 7 minutes
- Yield: 1 mug cake 1x
- Category: Dessert
- Method: microwave
- Cuisine: American
Ingredients
- 5 tablespoons all-purpose flour
- 1 tablespoon + 2 teaspoons granulated sugar
- ½ teaspoon baking powder
- pinch salt
- 1 ½ tablespoons unsalted butter
- ¼ cup milk
- ½ teaspoon vanilla extract
- 3 Oreos, divided (plus more for garnish, optional)
Instructions
1. In a small bowl, whisk together the all-purpose flour, granulated sugar, baking powder, and pinch salt. Set aside.
2. Place the butter into a large microwave-safe mug (see notes). Place a folded paper towel on top of the mug to catch any potential spatter. Microwave on high for 30 seconds to melt the butter. If the butter is not fully melted, microwave for an additional 10 seconds.
3. Carefully pour the melted butter into the bowl with the dry ingredients, along with the milk and vanilla. Whisk together until no lumps remain, but do not overmix.
4. Crumble up 2 of the Oreos with your fingers and add them to the batter. Mix just to combine.
5. Spoon about half of the batter into the mug, then place the remaining whole Oreo on top of the batter. Spoon the remaining batter on top.
6. Microwave the mug cake on high for 90 seconds. Check the cake; if there is still wet batter on top, microwave again in 10 second increments until the cake is cooked through. Top with additional crumbled Oreos (optional) and enjoy!
Notes
If the baking powder is pebbly out of the canister, break it apart with your fingers or a fork before adding to the other dry ingredients. These little pebbles are hard to mix in fully, and getting a little piece of baking powder in the finished cake will taste quite bitter!
Be sure to use a mug that is at least 12 ounces to make sure the batter doesn’t overflow while it cooks. For extra insurance, you can place the mug onto a microwave-safe plate to catch any potential drips. And of course, please make sure that the mug is microwave-safe!
When crumbling the Oreos to add to the cake batter, you can either crumble them quite fine for a more even texture, or leave the pieces larger for bigger chunks of Oreo flavor in each bite!


Leave a Reply